Turnstile with Face Reader Installation

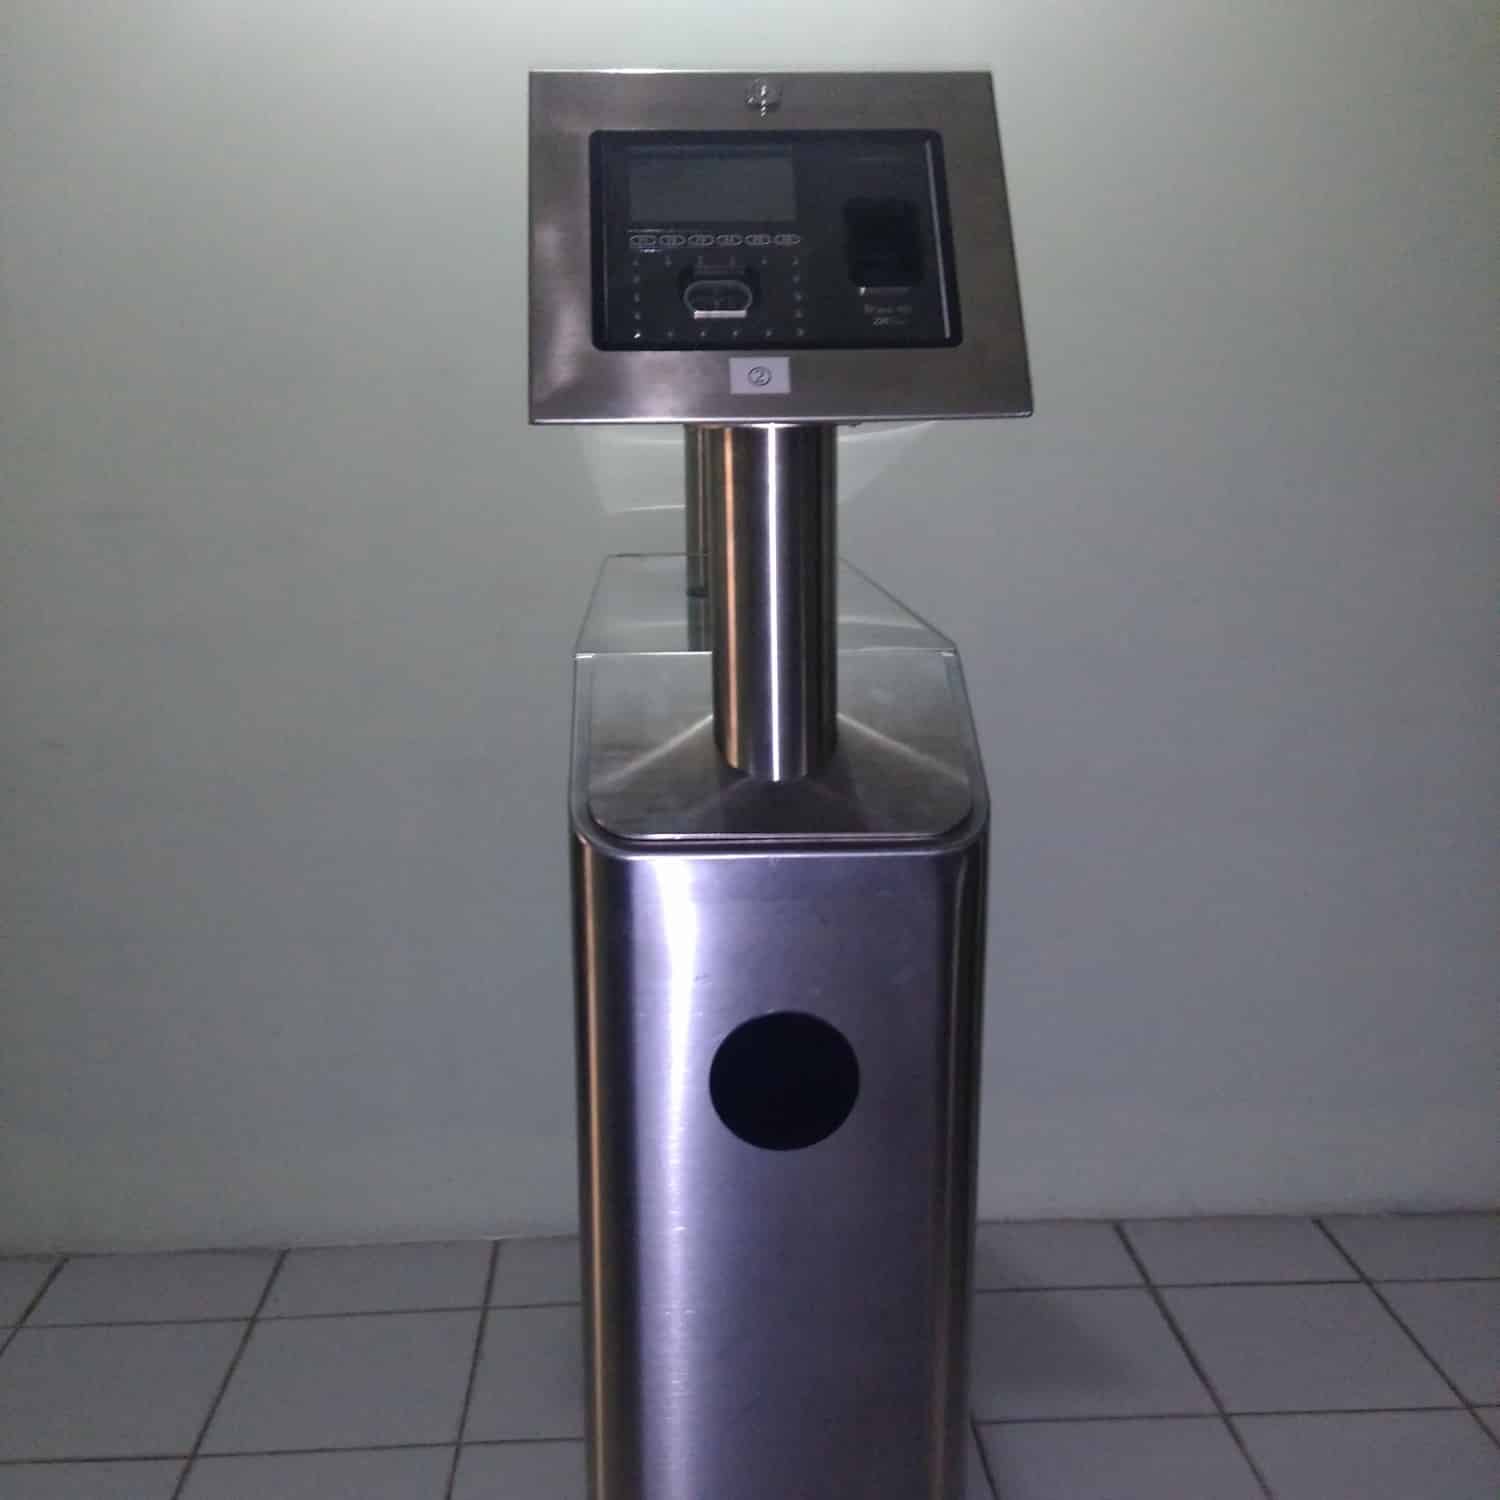
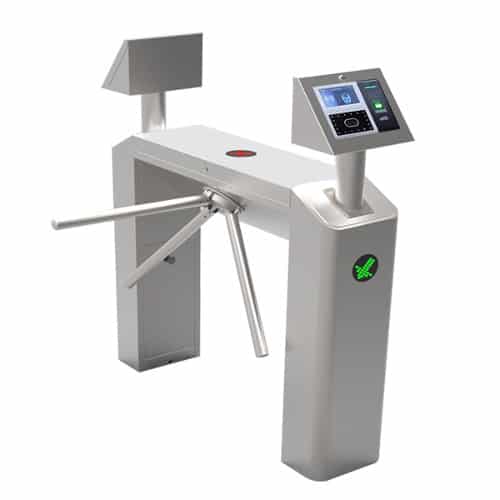
Turnstile with Face Reader

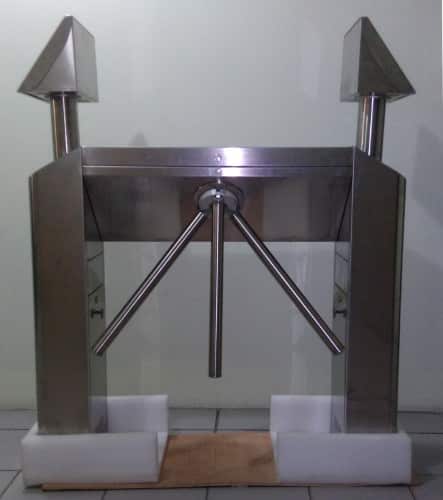
A turnstile, also called a baffle gate or turnstyle, is a form of gate which allows one person to pass at a time. It can also be made so as to enforce restricted traffic and authorized entry of people, and in addition, it can restrict access only to people who are identified after a bio-metric recognition process or RFID card recognition. Thus a turnstile can be used in the case of restricted access for employees to workplace, for example to gain access for authorized people alone to the office area.

  • Superior access control by both detecting and deterring unauthorized entries
  • Turnstiles easily integrate with a building’s access control system
  • Turnstiles enhance facility operations by streamlining the entry process
Turnstile TS2033

Technical Specifications

Items In The Box

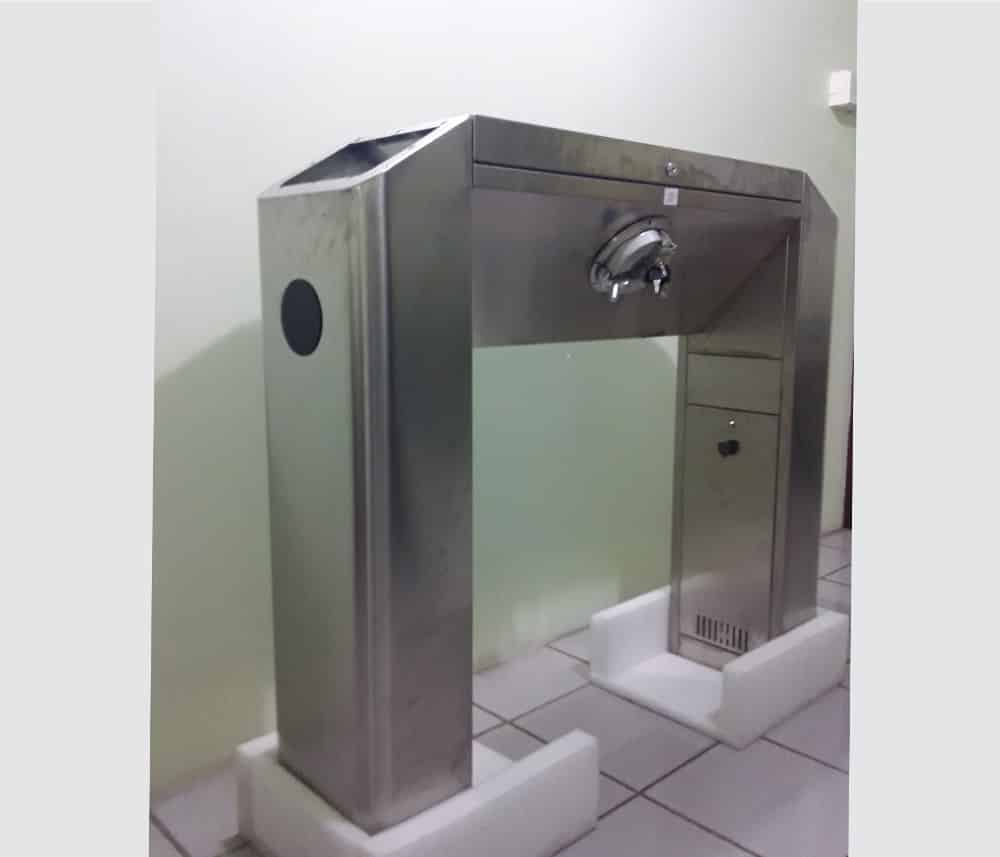
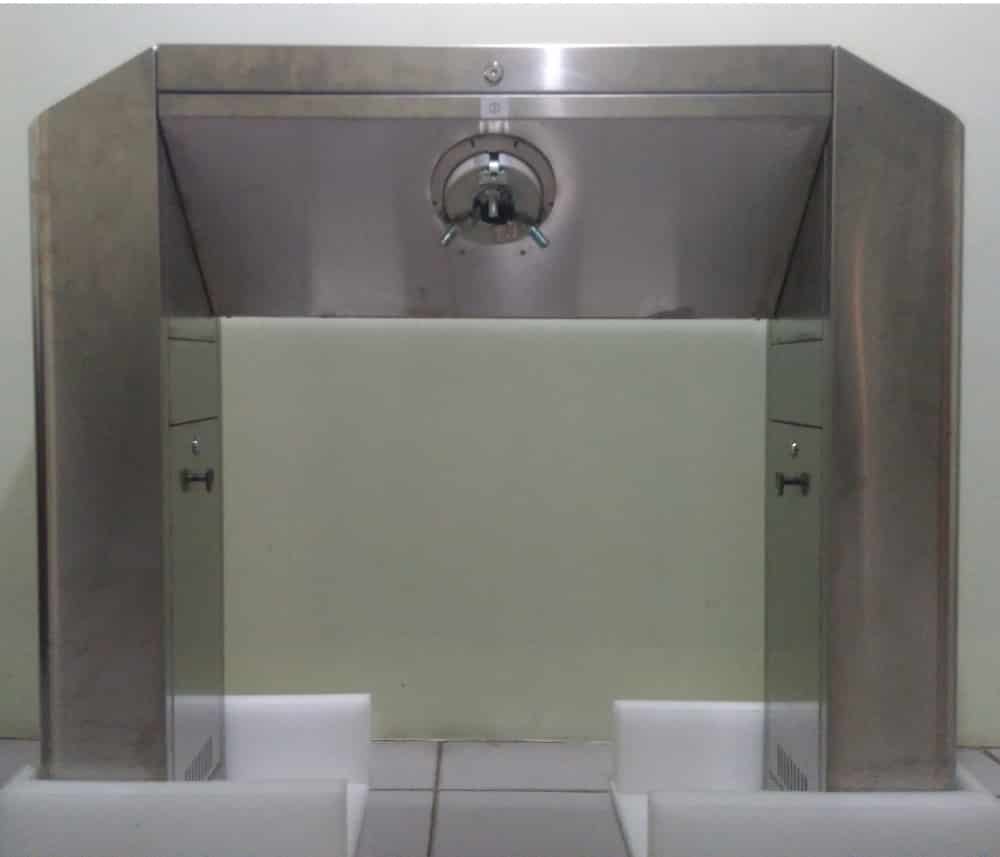
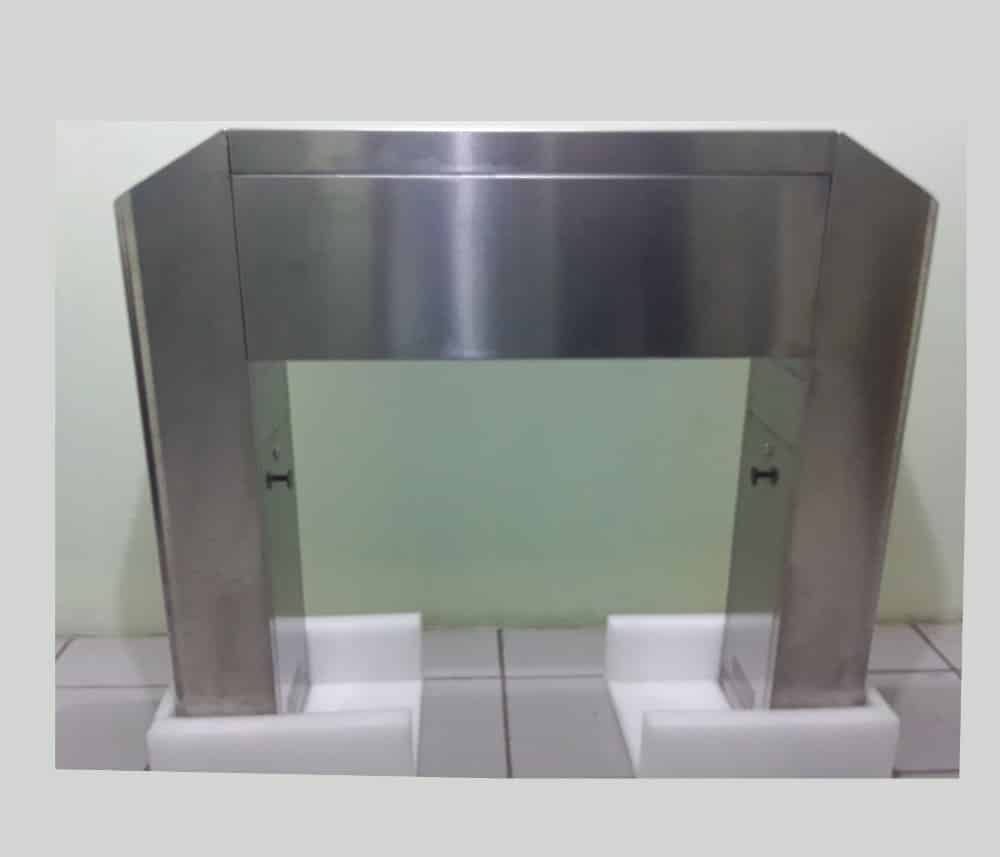
1. Turnstile Base

Side View

Front View

Rear View

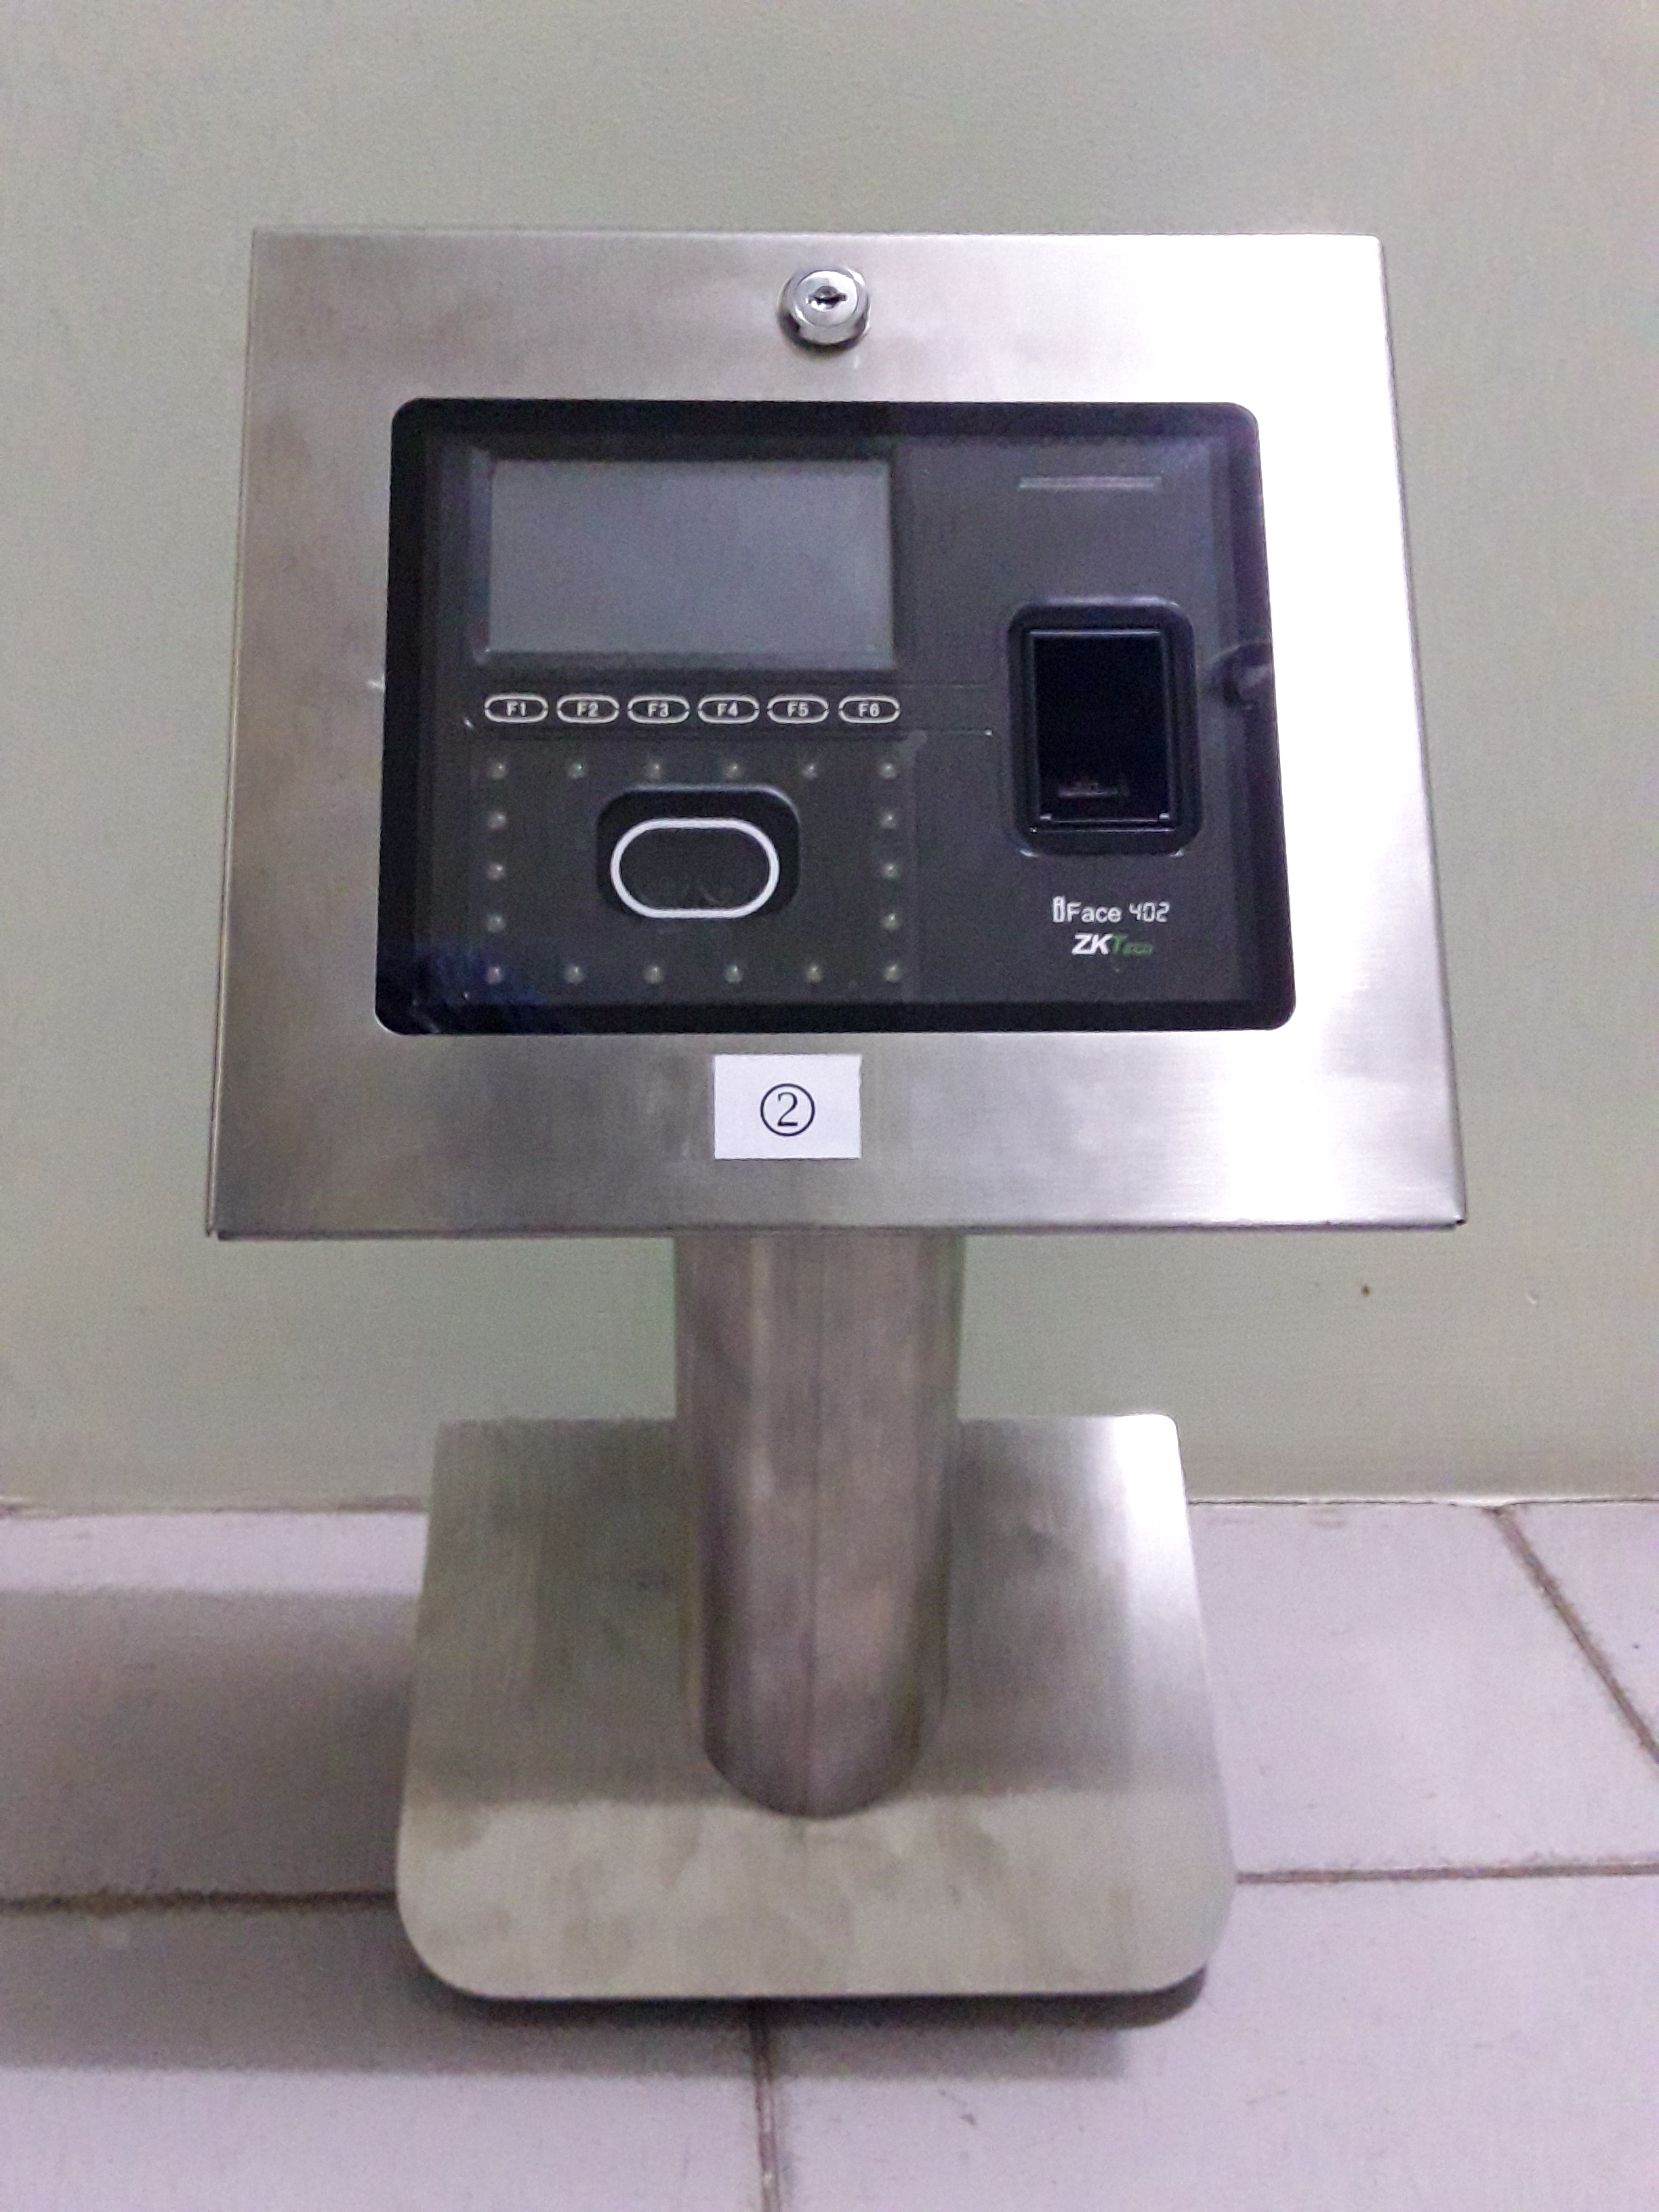
2. Face Devices

Face Device 1

Face Device 2

3. Turnstile Arms

Arms

Single Arm

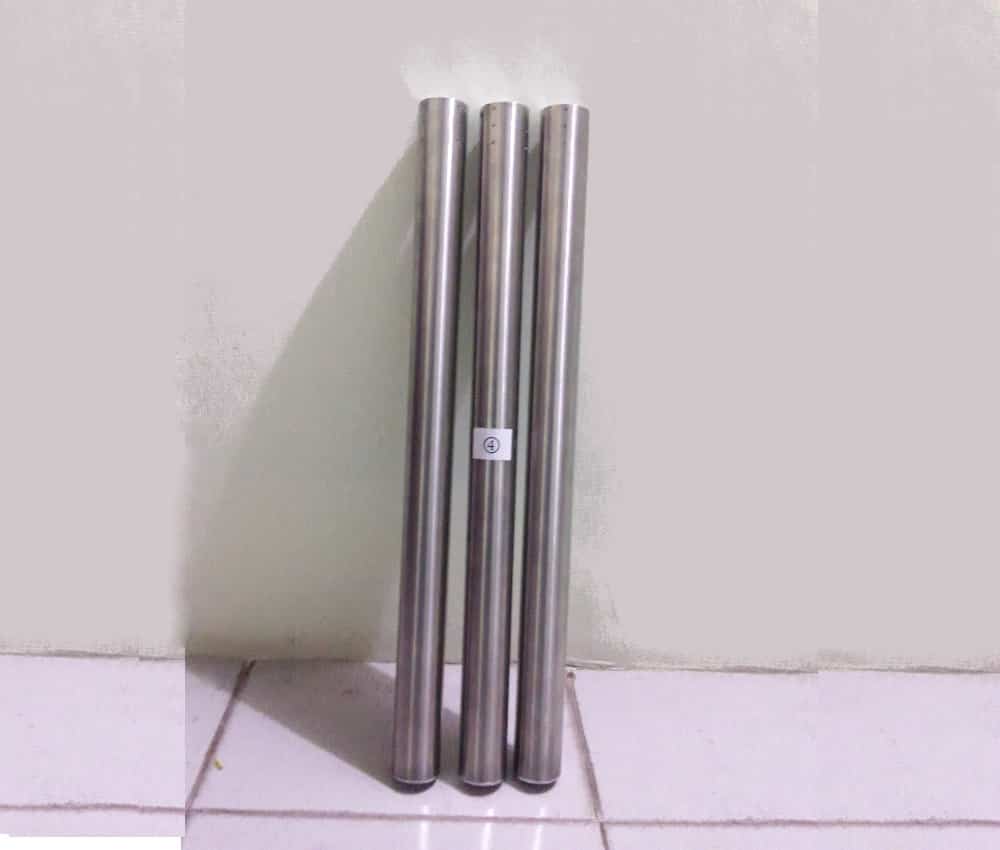
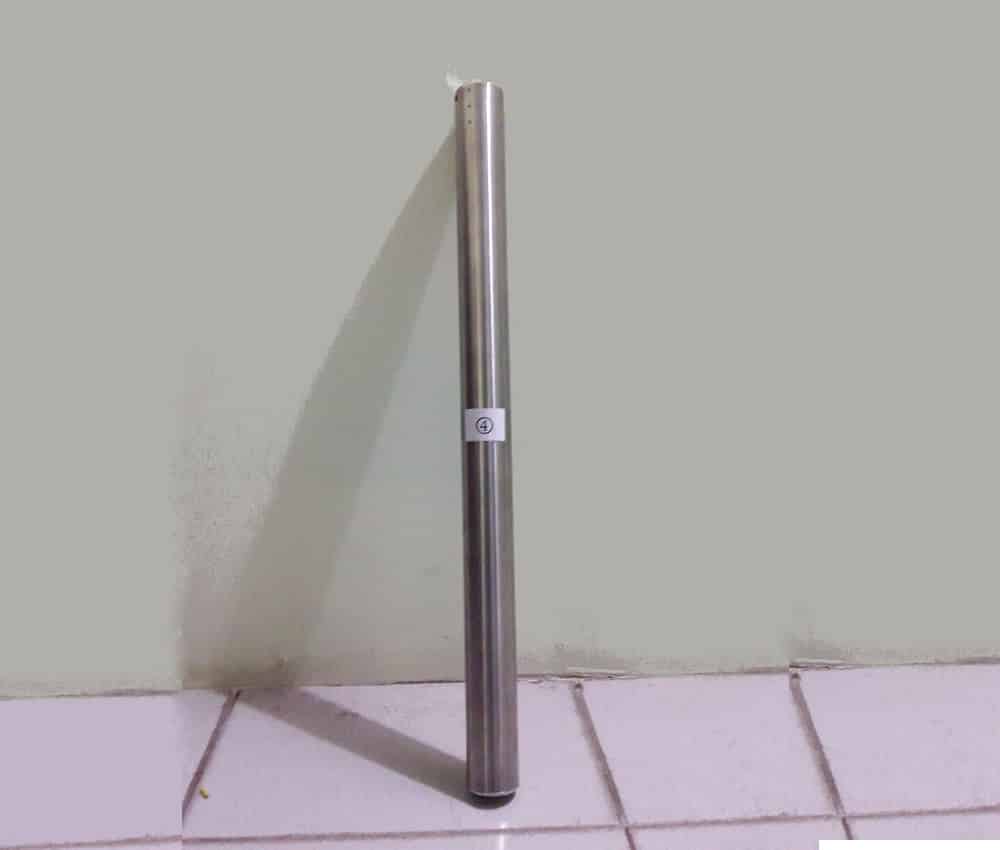
4. Other Items

Glue

Align Key

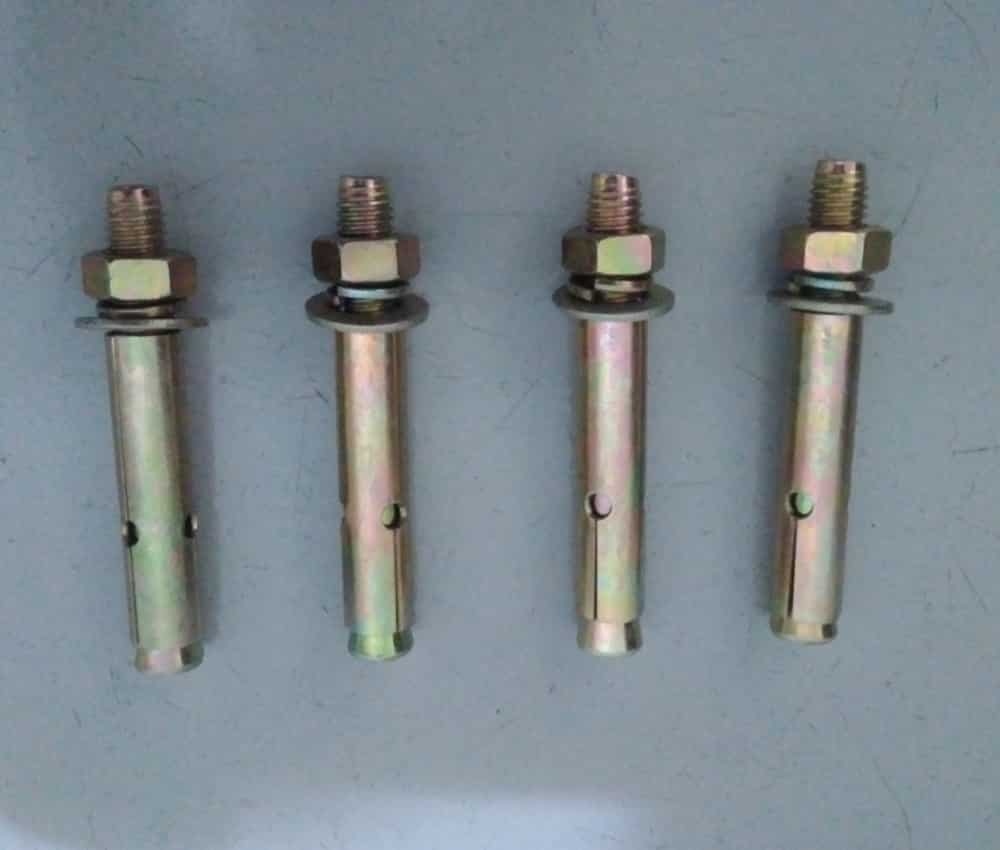
Expansion Bolts

Steps for Installing Turnstile

Purchase Now

Items in the box are to be assembled as instructed in the below steps

All items in the box delivered to you by Lenvica contains items that are numbered. While following the installation steps, consider the item numbers and follow exactly for successful installation.
Purchase Now
Step 0
Connect Face Reader 1 to Turnstile

Connect Face Reader 1

  • Connect the first face reader(Item 2) to the turnstile(item 1). The position of item 2 is marked on item 1.
  • Tighten countersunk screw at the bottom of to attach the face device holder firmly into the turnstile base.

The video below illustrates how to connect face reader to a turnstile.

Step 0
Connect Face Reader 2 to Turnstile

Connect Face Reader 2

  • Connect the first face reader(Item 3) to the turnstile(item 1). The position of item 3 is marked on item 1.
  • Tighten countersunk screw at the bottom of to attach the face device holder firmly into the turnstile base.

The video below illustrates how to connect face reader to a turnstile.

Step 0
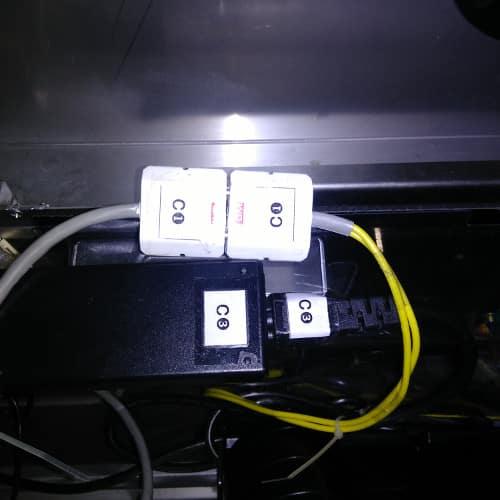
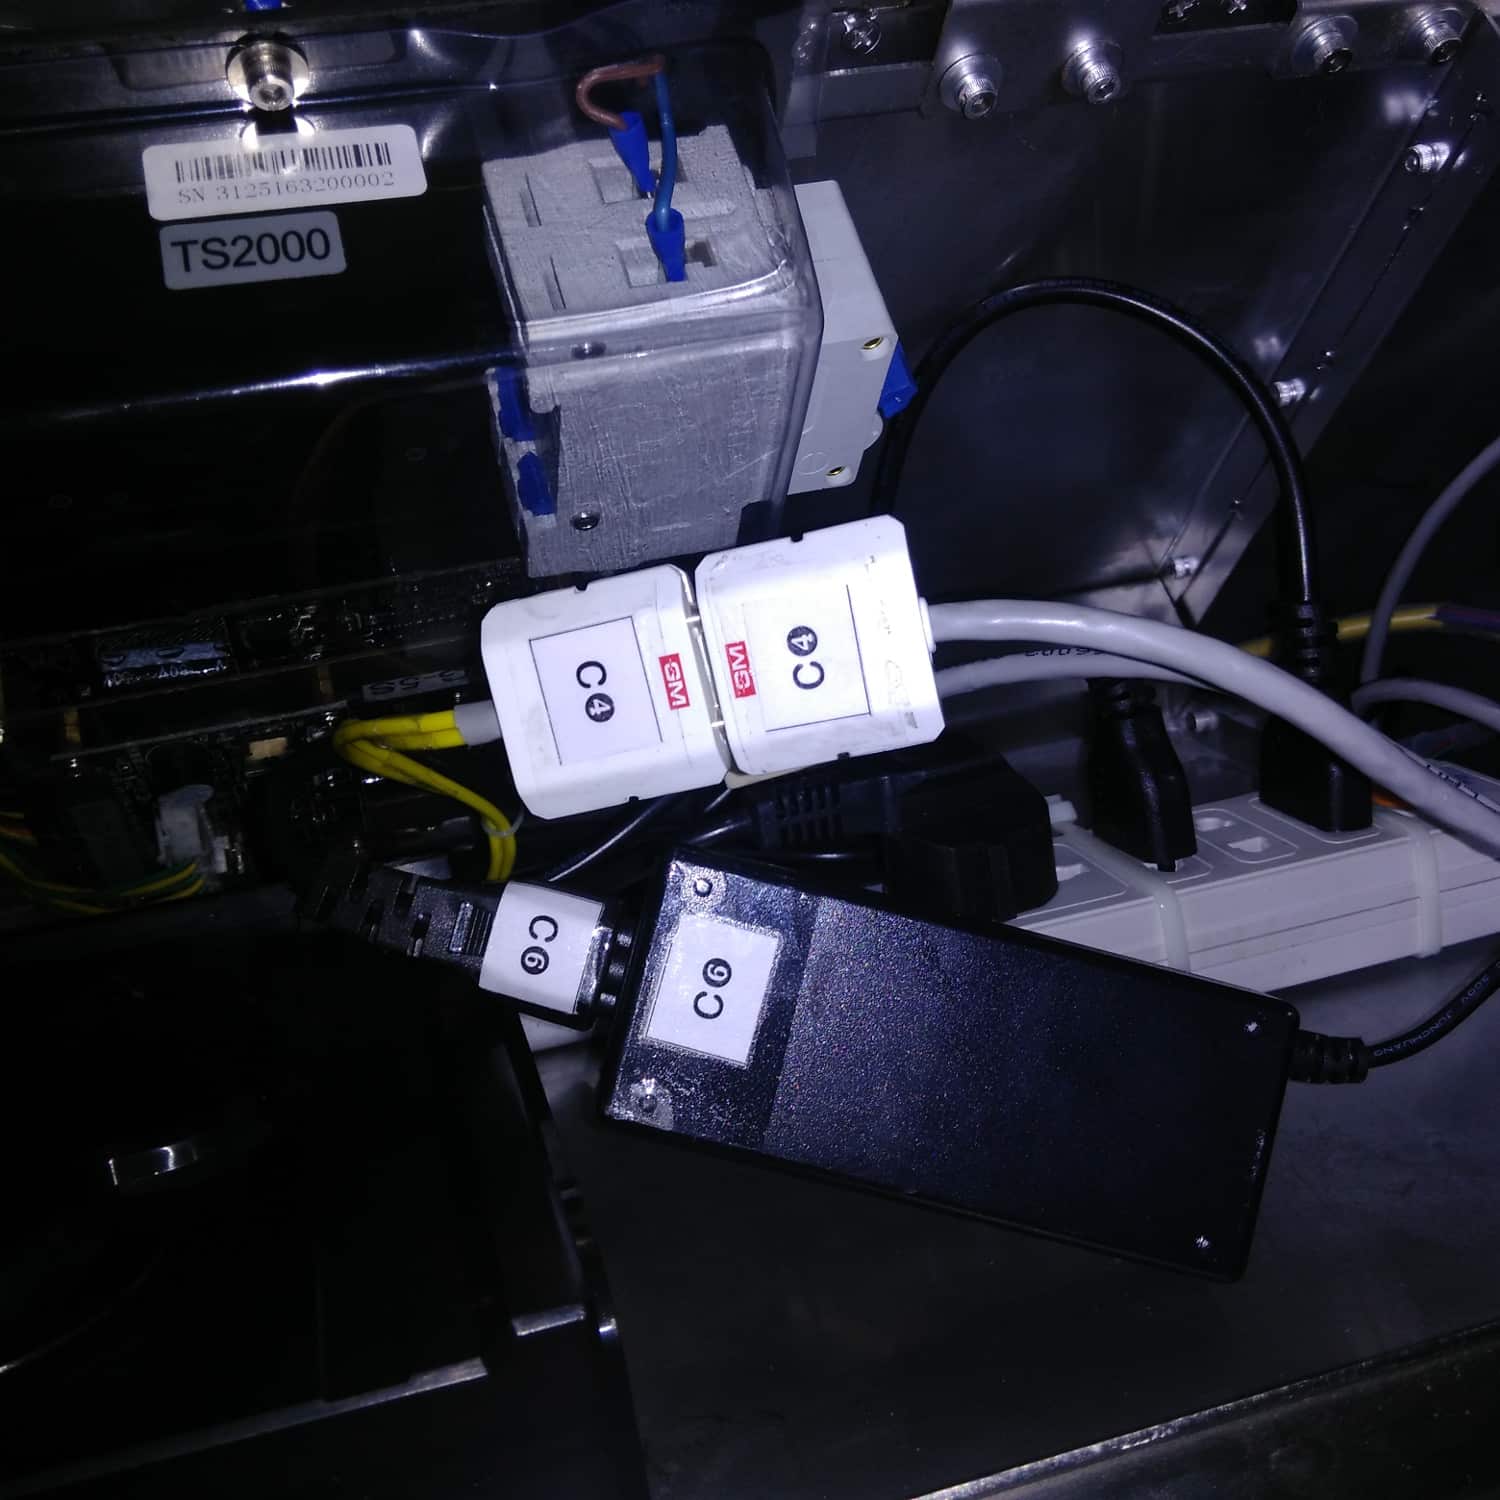
Cable/Socket Connections

Connect Cables/Sockets

  • Make connections C1(face reader to turnstile), C3(power to face reader)
  • Make connections C1(face reader to turnstile), C3(power to face reader)e.

The video below illustrates the cable and socket connections to be made in the turnstile.

Step 0
Cable/Socket Connections

Connect LAN to Face Readers

  • Make connections C2 and C5(face reader to LAN)

The video below illustrates how to make the LAN connections to face reader.

Step 0
Arm Installation

Install ARMs to Turnstile

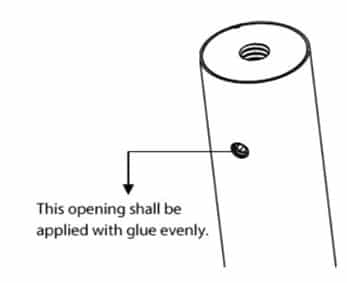
  • Open the glue and apply in the square openings of the arms as well as the four countersunk screws, as shown in figure. (This is to prevent screws from getting loose due to vibration after being used for a long time)
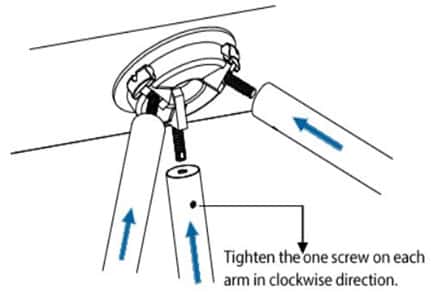
  • Insert the arm to the connection points, and use the hex key to fasten the one screw on each arm, as shown in figure.

The video illustrates how to connect the arms to the turnstile.

Equipment Installation

Installation Conditions

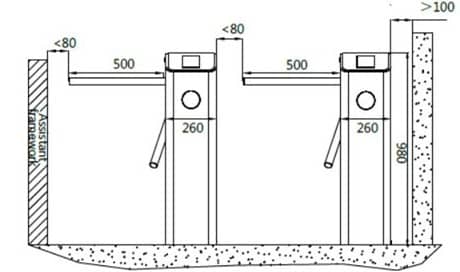
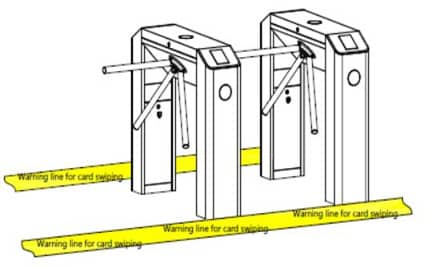
The equipment must be installed on concrete ground, ensuring that expansion bolts (refer items in the box above) can be secured firmly. You are suggested to install an assistant framework or fence to form a passageway, as shown in figure .

  • When installing the tripod turnstile against the wall, please reserve at least 100 mm space in order to open the cover for adjustment and maintenance.
  • The space at the end of the arm shall not be greater than 80 mm
  • Setting a warning line for bio-metric recognition. A warning line is suggested to prompt users to do the bio-metric verification from a distance, which would greatly reduce the probability of equipment failure caused by improper operations.

Cabling

There are inlets in the bottom plate for cabling, as shown in figure. The turnstile requires a power input and LAN cables for each face reader. It is recommended to conceal the incoming cables under the floor. Cable protection covers are suggested to use if it is surface mounted.
Warning: The tripod turnstile must be connected to Ground (earth), there is wiring interface in the power switch.

Installation

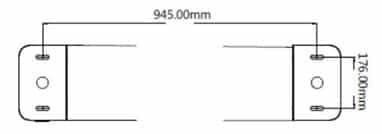
  • Drill holes based on the locations of the holes shown in figure
  • Fix the mounting plate to its original position
    Placing the mounting plate properly and apply screw securing glue on the surface and the threads of the expansion bolts, install four expansion bolts to secure the mounting plate, and use a horizontal ruler to test the levelness of the mounting plate. If the mounting plate is not level, adjust it by the gaskets provided. Note that all the four expansion bolts must be installed properly and two expansion bolts on each column, as shown in figure
  • Put the turnstile on the mounting plate and tighten the screws. Apply screw securing glue before use and put gaskets on the screws to adjust the direction of the turnstile. If the tripod turnstile is not level, you can place gaskets to adjust, as shown in figure

Function Description of Turnstile

  • Plug in turnstile power. Please make sure that the power requirements are strictly met to avoid permanent damage to the unit. Input voltage 100v – 240v is self-adaptive.
  • Power on and wait 30s for the tripod turnstile to finish the self-check program.
  • Lift the arms manually, as shown in the video
  • Check whether the tripod turnstile and the LED indicators work properly
  • Power on both iFace readers. After you power on the turnstile, you should manually power-on the iFace readers.
  • Now, the turnstile is fully operational. The face readers should now be configured to communicate with Lenvica HRMS. The face readers are usually pre-configured for our customers.