

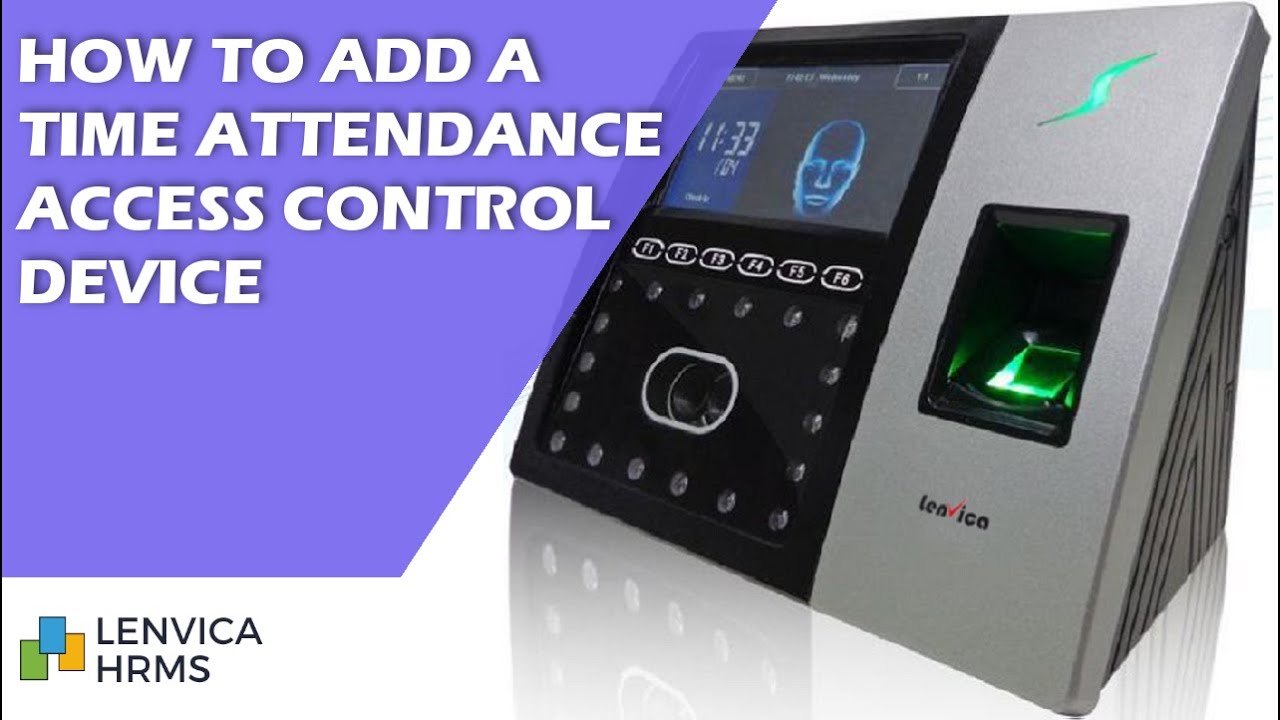
ZKTeco has Face/Palm/Fingerprint/RFID Time Attendance/Access Control devices to capture attendance. This help document describes how you can connect an ZKTeco device to Lenvica HRMS.
Step 1: Make sure you can PING the device.
If PING is successful, it means, there is physical connectivity between the server and the device.

PING works. So, the network appears to be okay.
Step 2: Add a new device in the software


Provide a name to the device and assign it to a Zone

A zone has one or more devices and usually represents a building or area of work.


Step 3: Choose Device type ‘Direct’ and then Device ‘ZKTeco’

Step 4: Choose an appropriate ‘Device Category
If the device is used to collect employee attendance, choose ‘Attendance’. If the device is used in a Canteen to analyze canteen usage, choose ‘Canteen’, and so on.

I’m going to choose Attendance, as the device is used to collect employee attendance.

Step 5: Choose punch type
If you want to dedicate a device for IN punches, choose the IN option. Similarly, if you want to dedicate a device for OUT punches, choose the OUT option. If a device is to be used for both IN and OUT punches, choose the ‘IN/OUT’ option.

I’ll choose IN/OUT as the same device is used for clocking IN and also for clock out.

Step 6: Specify the IP address and Port Number
Port number is 4370 by default

Step 7: Specify an import Schedule
The import schedule specifies how often the server reads punches data from the devices.

Step 8: Clear Device Log
Specify the maximum number of punches you want the device to hold. The device log is automatically cleared when the punch count exceeds the specified number.

Step 9: Use Alphanumeric User Id
Choose this option if your device supports alphanumeric User Ids.

Step 10: Save the details to create a new device
Once you create a device, Lenvica HRMS will automatically pull data from the device as per the import schedule specified.

Once the software starts communicating with the device, the software will update you with the recent activities.


Step 11: Ensure your employees have badge numbers
Badge number is the unique id for an employee in the device. Each employee should have a badge id for the software to recognize the employee from the device data.


Step 12: Verify clock in/out data from employees
The raw data from the device is available employee wise for you to ensure that the communication with the device is a success!


Frequently Asked Questions
How does this software get data from ZKTeco devices? Do I have to manually import?
Just connect the devices to the software, and you are done. The software automatically connects to all devices and brings in data without any manual intervention.
I’ve ZKTeco Biometric Devices. Some are Face devices, and some are old Fingerprint devices. Can I connect all of them to the software?
Yes, you can connect all kinds of ZKTeco devices to this software.
Does this software include all the reports in ZKTeco Attendance Management Software?
Yes. Lenvica HRMS includes many more reports than the free software provided with ZKTeco Devices.
I’m using ZKTeco WDMS Software. Can I integrate this software with WDMS to get the reports this software offers?
Yes, Lenvica HRMS can connect to WDMS and easyWDMS Software from ZKTeco.
What happens if a device is unable to communicate due to issues in the LAN?
The software can send you email/sms alerts to notify issues with devices.
What is the default port number for ZKTeco devices?
ZKTeco devices have a default port number of 4370
Is this software compatible with ZKTeco Time Attendance and Access Control Devices?
Yes, Lenvica HRMS can work with all models from ZKTeco
Can I replace ZKTeco Biotime with this software?
Yes, Lenvica HRMS is a good replacement for ZKTeco Biotime.
How to reset UFACE 800 admin password?