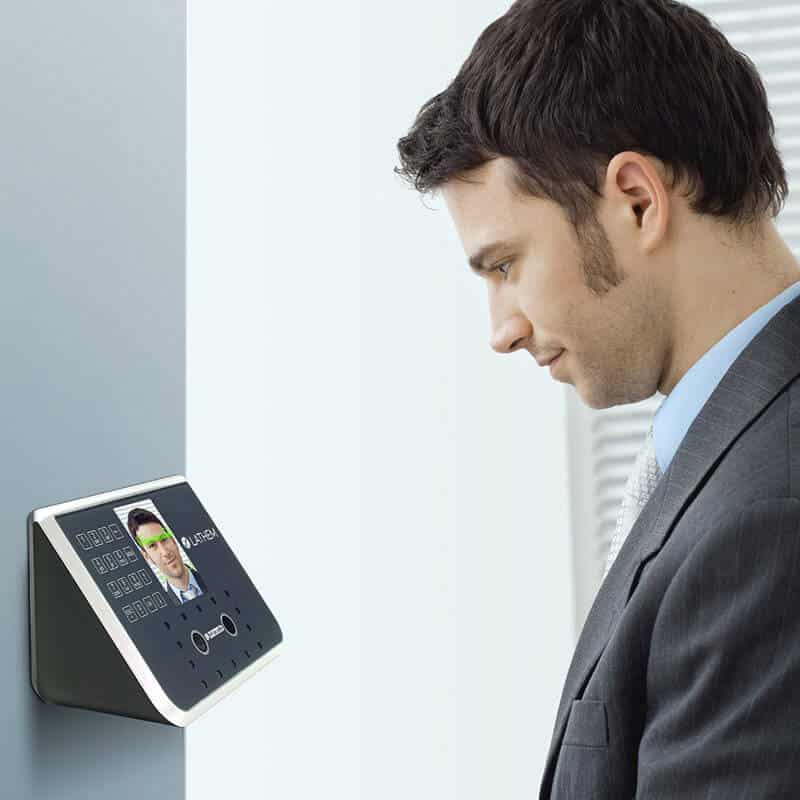
Lenvica HRMS can integrate with a variety of Time Attendance, Access Control Bio-metric devices to fetch the attendance punches of employees. The devices can be directly integrated to Lenvica HRMS software in the Time Registration module just by specifying the IP address of the device. In order to configure the device that are placed in remote locations and are used by employees to register their attendance, port forwarding method can be used. The steps below explain how to directly connect a time-attendance access control device to Lenvica HRMS software.

Import Employee Attendance Using Excel into Lenvica HRMS
Have you got no time attendance devices in place, Lenvica HRMS updates attendance of employees not alone using direct connection to time attendance-access control bio-metric devices but also importing attendance from an excel file. At locations where devices are not implemented for attendance tracking but follow the old school method of recording in excel, the excel sheet attendance can be directly imported to Lenvica HRMS and update the attendance of employees.
How to add a time attendance access control device into Lenvica HRMS?
The table below detail the fields that has to be filled in the software when trying to add devices of various brands into the software.
| Field Name | Description |
|---|---|
| Clear device when punch count reaches | The software will clear the punches in the device to zero when the punch count reaches the figure specified in this field. |
| Client ID | Client ID |
| Connection String | Connection String |
| Database File | Specify the database file where the punch details of employees will be available. |
| Database Folder | Specify the folder in which database file where the punch details of employees will be available. |
| Default Location | Default Location |
| Device | Scroll down to select the make of device you are connecting to Lenvica HRMS. |
| Device Category | Choose Attendance under this if the device is in place for tracking attendance of employees. Else based on the purpose, you can choose from Restricted Area, Canteen or Clinic. |
| Device Name | Specify a name for the device. |
| Device Type | Select as Direct to configure a connection to device via LAN or through Internet. Put Device Type as ‘Mapping’ if to map the text file obtained from the device into Lenvica HRMS and update the attendance. |
| Door | Choose the Door at which the device is installed. |
| Enabled? | This field has to checked mark to keep the communication with a device and Lenvica HRMS live. If the field is unchecked Lenvica HRMS will not attempt to connect to the device. It will be in disabled state until enabled is checked mark. |
| Import File | Field to specify the file that has to be imported and it’s location. |
| Import Schedule | The intervals at which device and software communication must happen. |
| IP Address | IP Address assigned to the device. |
| Keep Connected | Check mark this option to keep the communication between the device and software always live other than scheduling it for intervals. |
| Local Port | Local Port |
| Location ID | Location ID |
| Mac Address (Last 3 Positions) | Last 3 positions of MAC address |
| Machine Number | Machine Number |
| Password | Password |
| Port Number | Port Number |
| Punch Type | Choose if the device is to accept both IN and OUT punches or just alone for IN or OUT. |
| Reader ID | Reader ID |
| Schedule Time | Schedule Time |
| Store Photo | Store Photo |
| Syris DB | Syris DB |
| Terminal Address | Terminal Address |
| Terminal ID | Terminal ID |
| Use COM Port | Use COM Port |
| Use TCP/IP | Use TCP/IP |
| Username | Username |

Leave A Comment
You must be logged in to post a comment.