This help document describes how you can import employees to Lenvica HRMS in bulk.
Step 1: Open the Employee Import Wizard
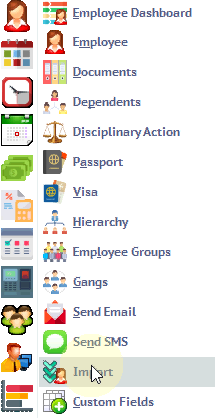
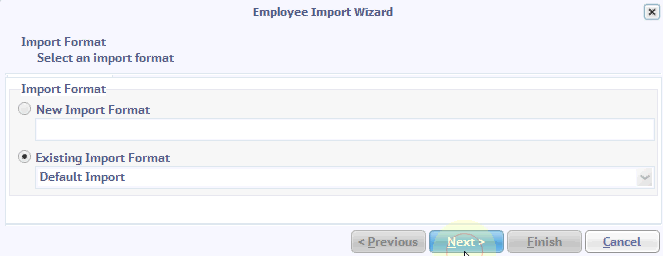
Step 2: You can import from any CSV file, but this time, I’m going to use the default employee format supplied with Lenvica HRMS.
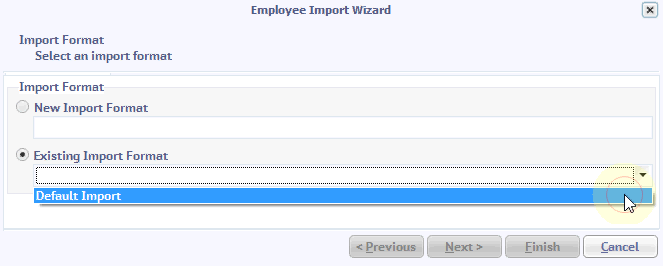
Step 3: First, let’s locate the import file
The import file is located under the UsersPublicPublic Documents.

The first 6 fields are mandatory and the rest of them are optional.

Step 4: Now, fill the import file with employee data.
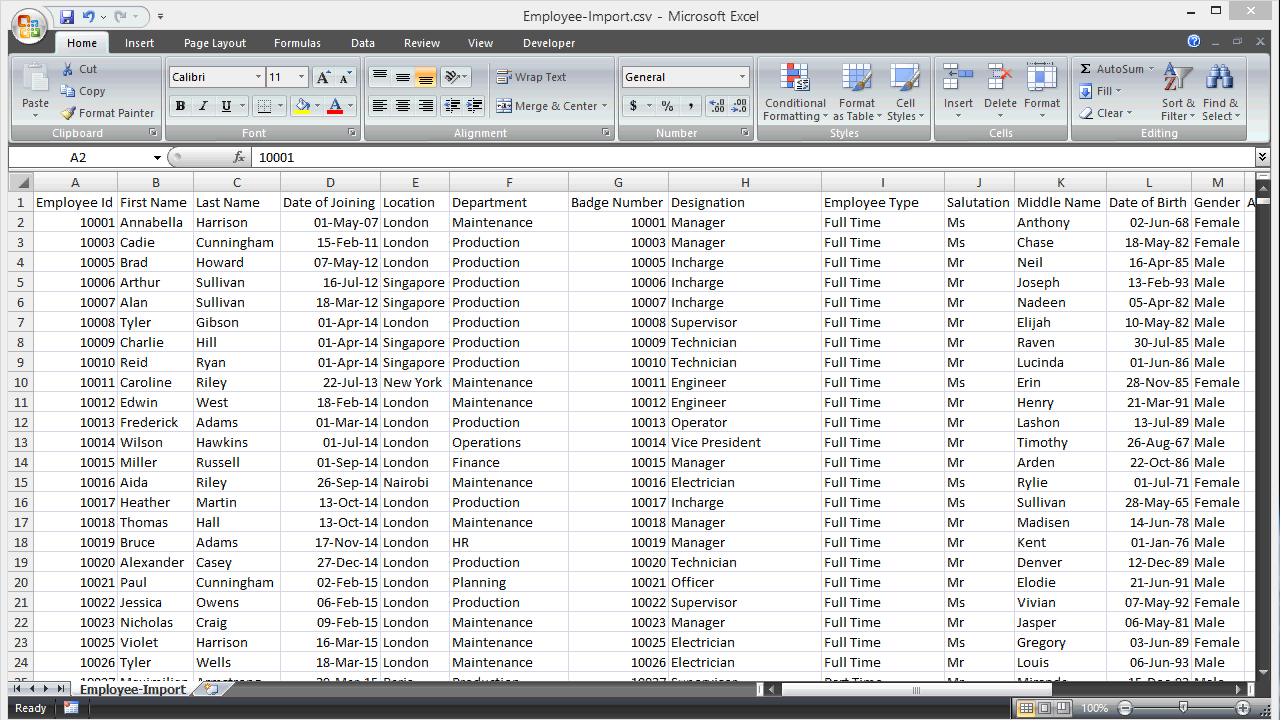
As you see, I’ve filled the file with all employee details.
Now, save and close the file.

Step 5: Now, let’s import the file in to Lenvica HRMS
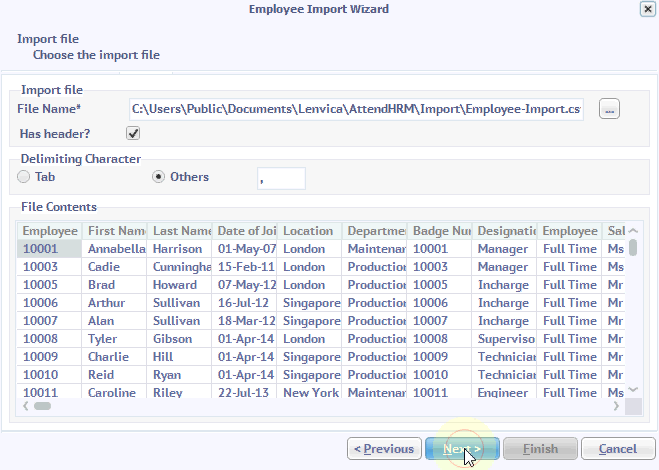
As you see, the import utility has read the data properly.
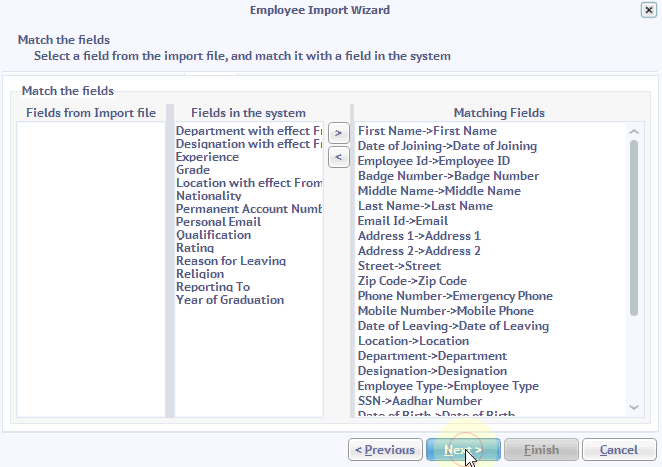
The field matching is automatically done.
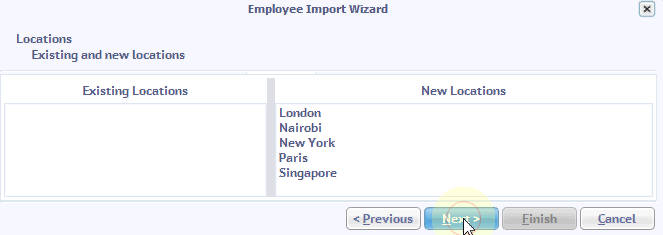
new locations will be added to the system.
new departments
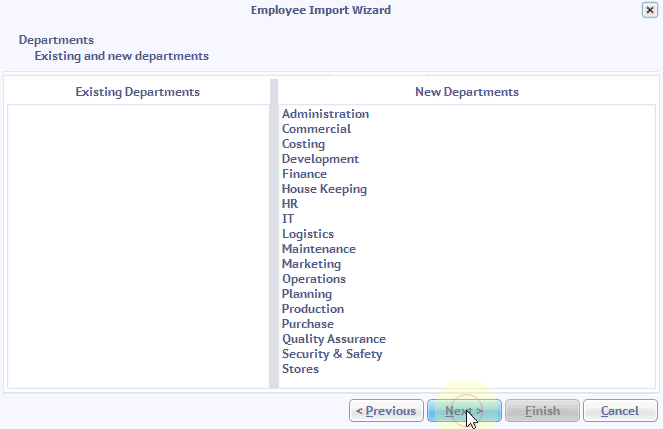
Designations
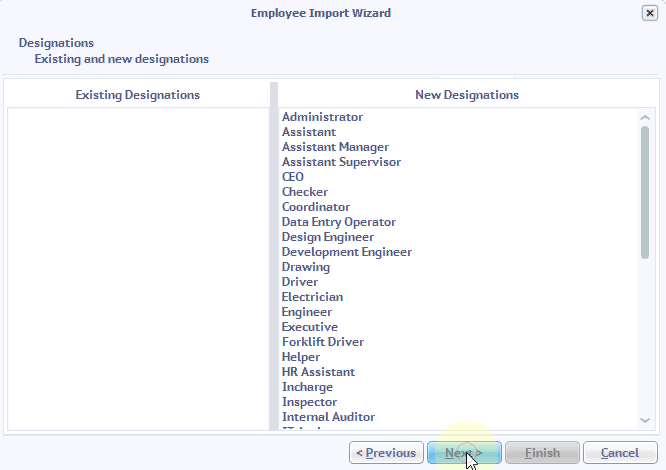
Employee Types

Salutations

Now you see a preview of the data to be imported.
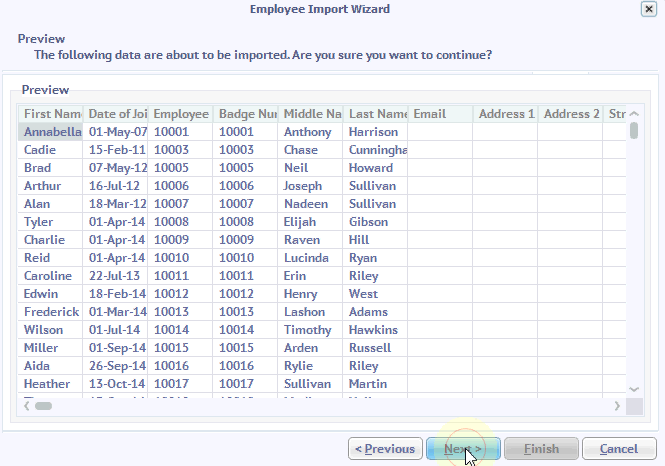
The import process creates new locations, departments, designations, employee types and finally the employees.
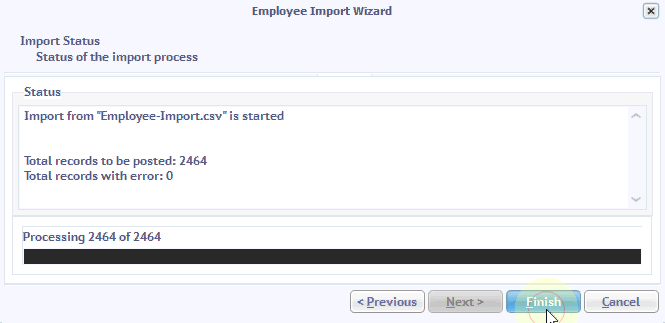
Step 6: The import is complete now.
Click finish to complete the import process.
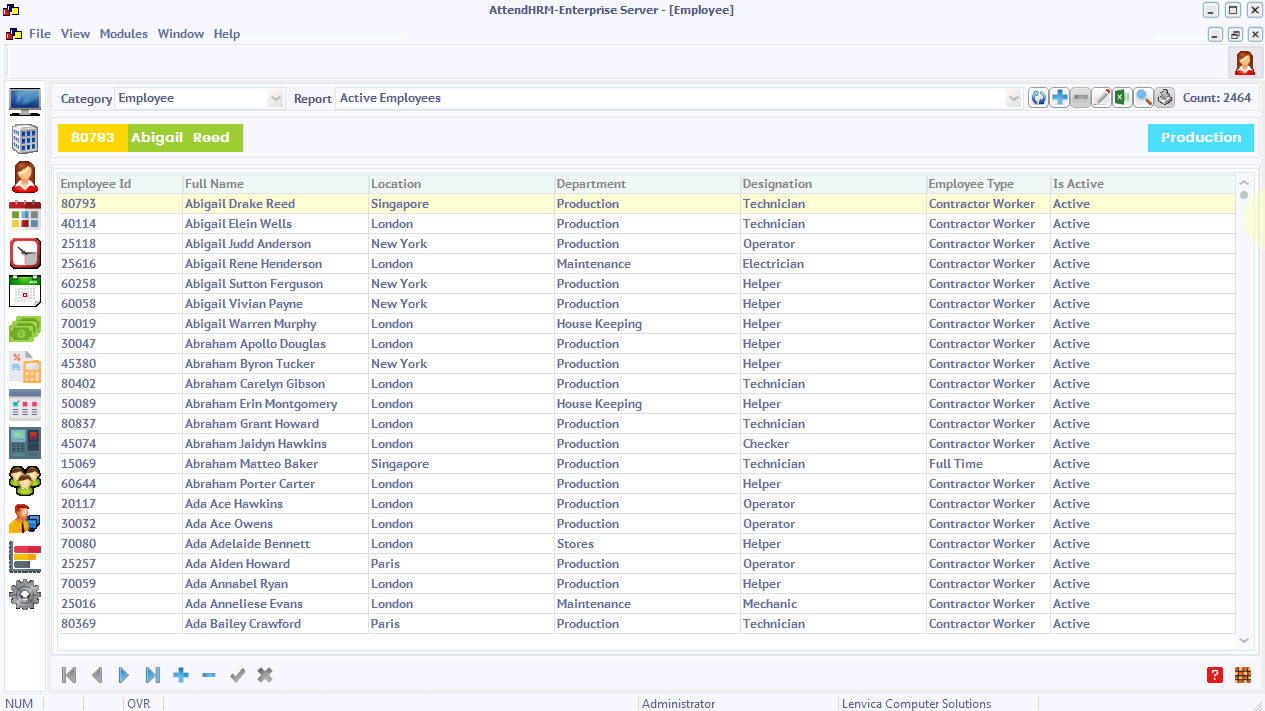
Step 7: Now, let’s take a look at the imported employee data.

As you see, the employee data has been successfully imported.
If you want to import more employees, just fill the same file with new employee data and repeat the process. You can also use the same file to update existing employee data.

Leave A Comment
You must be logged in to post a comment.