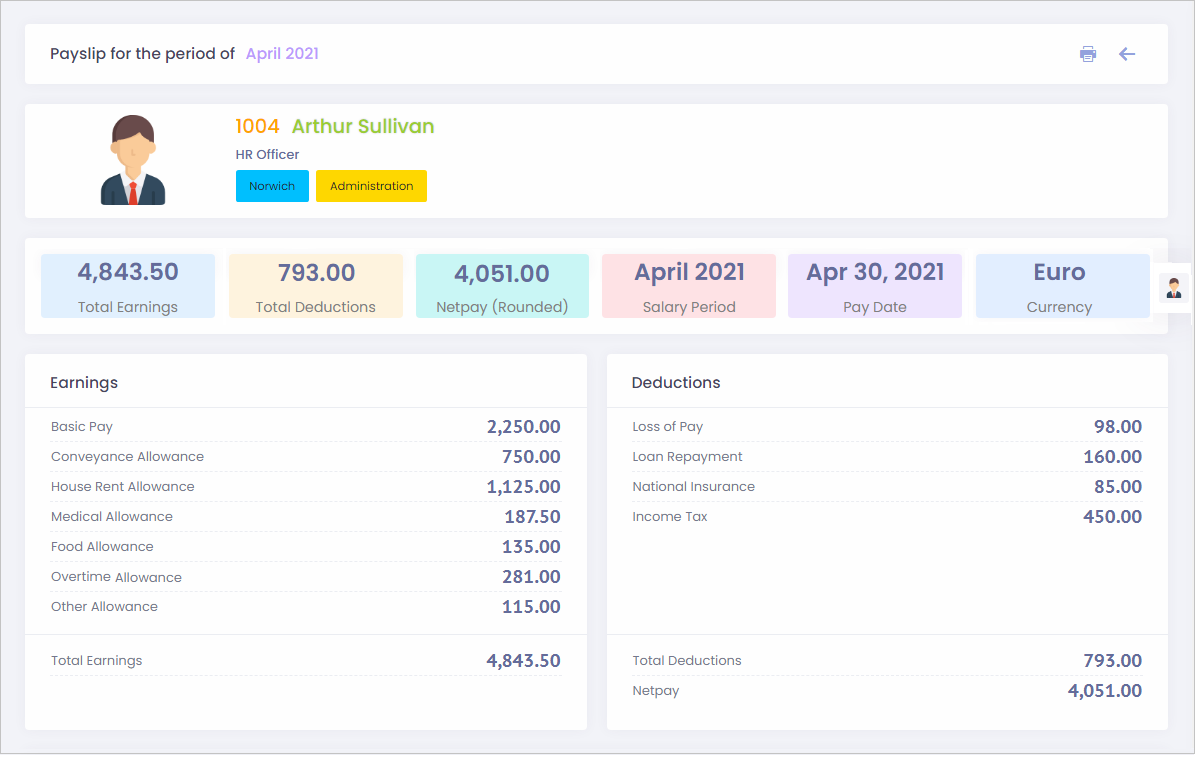
Payslips or Salary slips are documents issued by the employer to the employees, containing the detailed breakdown of an employee’s earnings and deductions for a given salary period which can be weekly, bi-weekly, monthly etc.
Employee Payslips are generally distributed either as hard copy by taking the print out or else are published through online portals called employee self service. An employer is legally obliged to provide payslip copy to every employee in his payroll.
Payslips are important to the employees for many reasons. Hence, the employer must ensure payslips are generated at the end of each pay cycle and distributed to the employees.
Two major reasons why the payslip is important are that the salary slip contains the break-up of your employee’s salary which can help them understand their take-home salary, taxes paid to the government and other mandatory payments such as income tax, Pension Fund contribution, employee insurance etc. Second reason why the payslip is important is that various financial institutions refer the payslips only to assess the credit eligibility to provide loan or issue credit cards.
How to create payslips in Lenvica HRMS software?
Payslips can be generated using Lenvica HRMS payroll software easily by processing the salary. Once payroll is processed, you can pull out the payslip report of that period. As soon as the processing is complete, payslip reports can be pulled from the list of salary reports. It also gives user the option to send the payslips by email. Once the payslip verification is complete, the salary period can be closed. Closing the salary period brings the payslips online on the employee self service portal. Payslips of open salary periods are not displayed on employee self service. Software generated payslips are very accurate when compared to manually calculated ones. Manual generation of payslips used to take a very long time in preparing them and distributing them. If the company is having a huge number of employees, it will take almost a week to distribute the salary slips. Now, there is Lenvica HRMS Payroll software to reduce the complexity of the process. The salary slip is sent to the employee in his email. The employee can print it or use it as per his convenience. The salary slip has the official logo or stamp and signature of the authority issuing it.
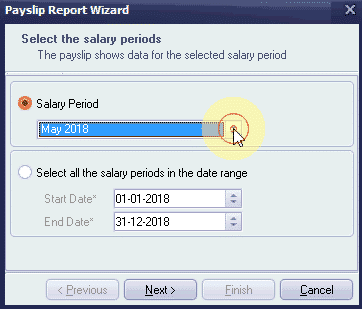
Step 1: Select a Salary Period
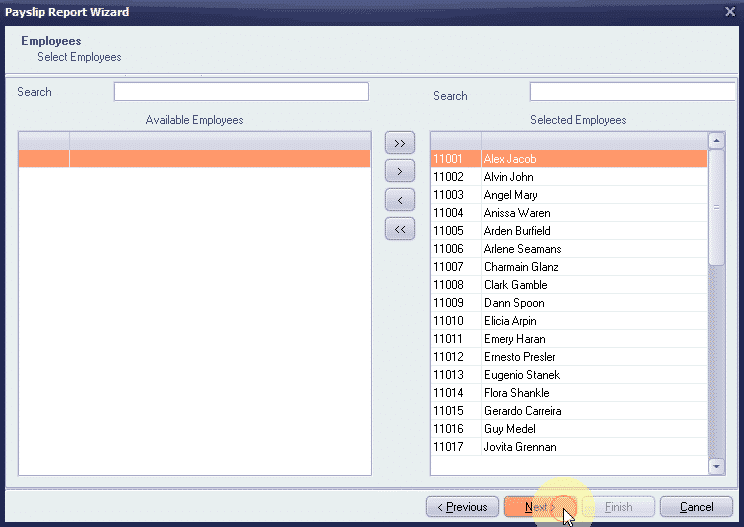
Step 2: Pick employees
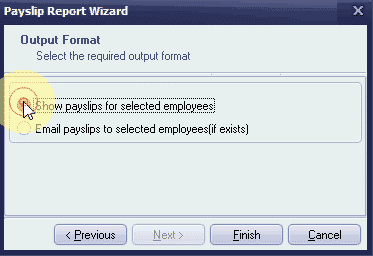
Step 3: Choose the first option to print the payslips
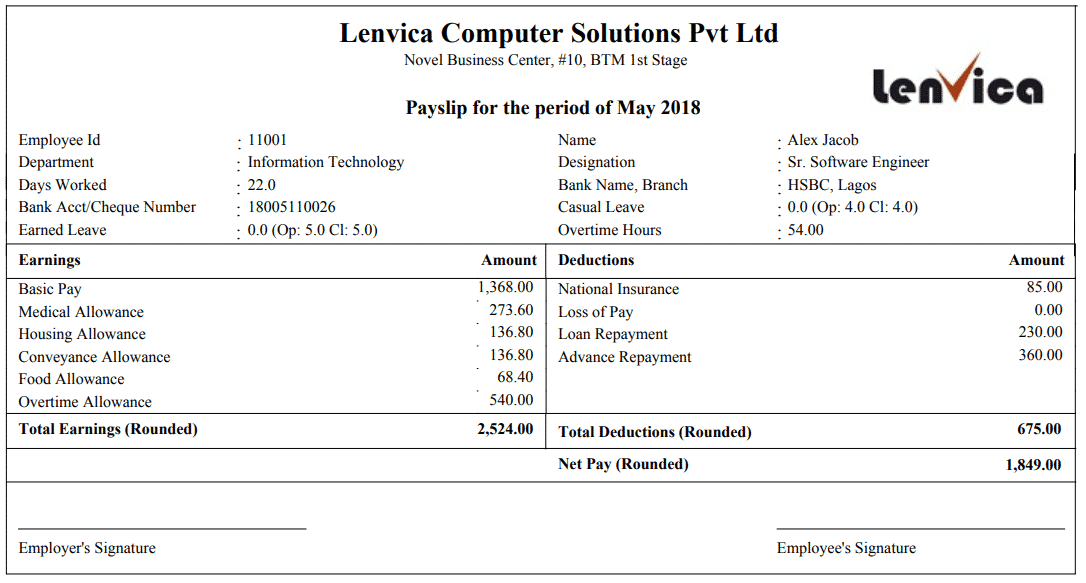
Step 4: The report is ready for printing
How to process salary for creating payslips in Lenvica HRMS software?
Payslip reports are created after the salary processing in the Lenvica HRMS payroll software. The video and steps below details how user can easily process salary in Lenvica HRMS to create payslips.
If you have already created a Salary Period and Salary Cards for your employees you can proceed to Salary Processing.
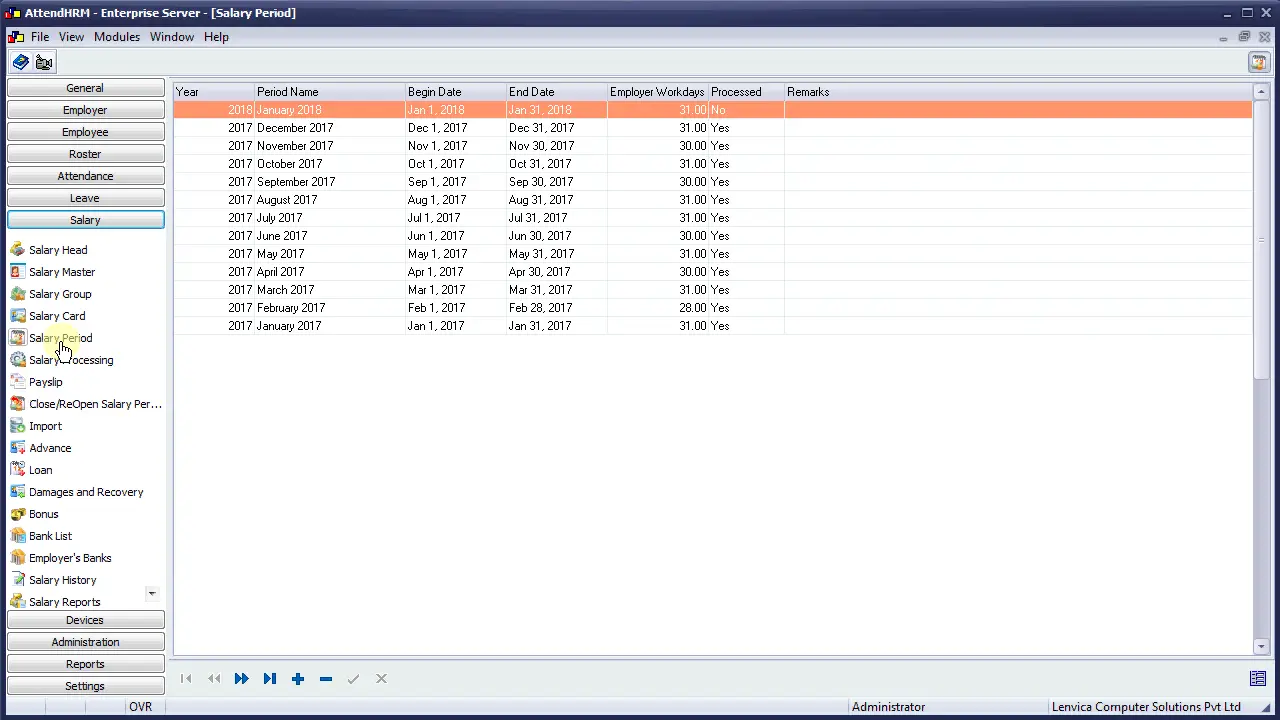
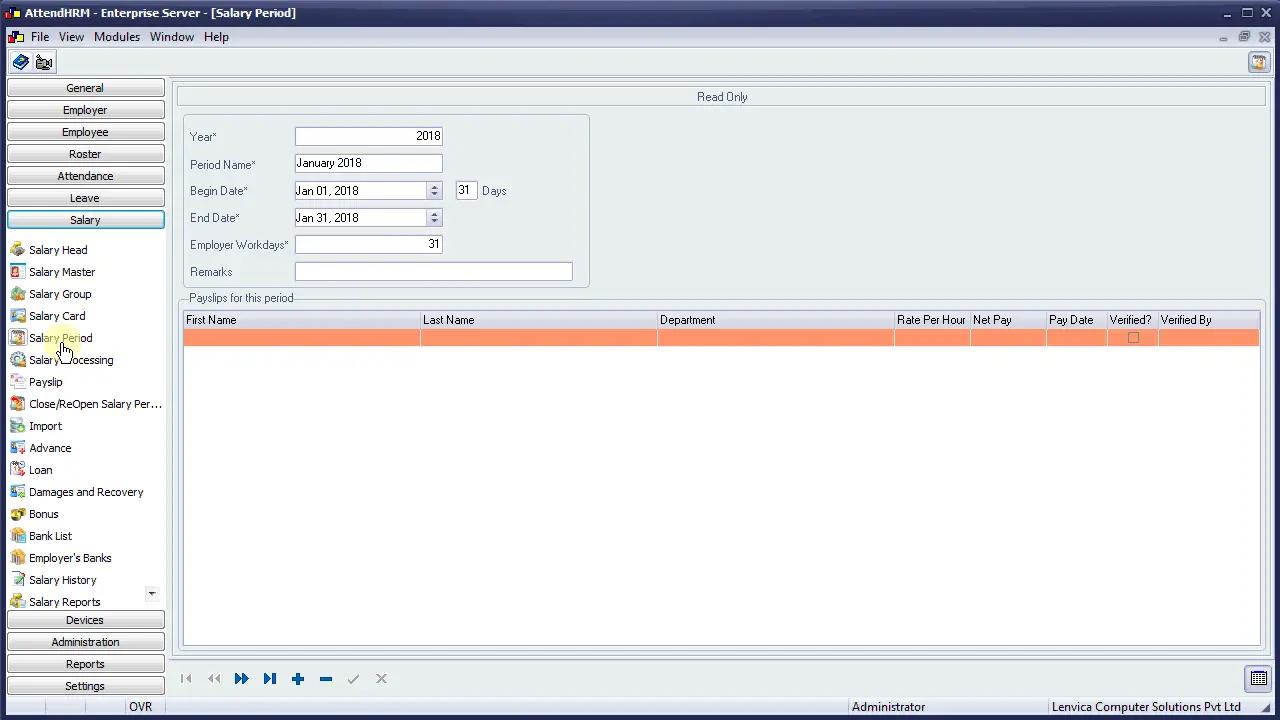
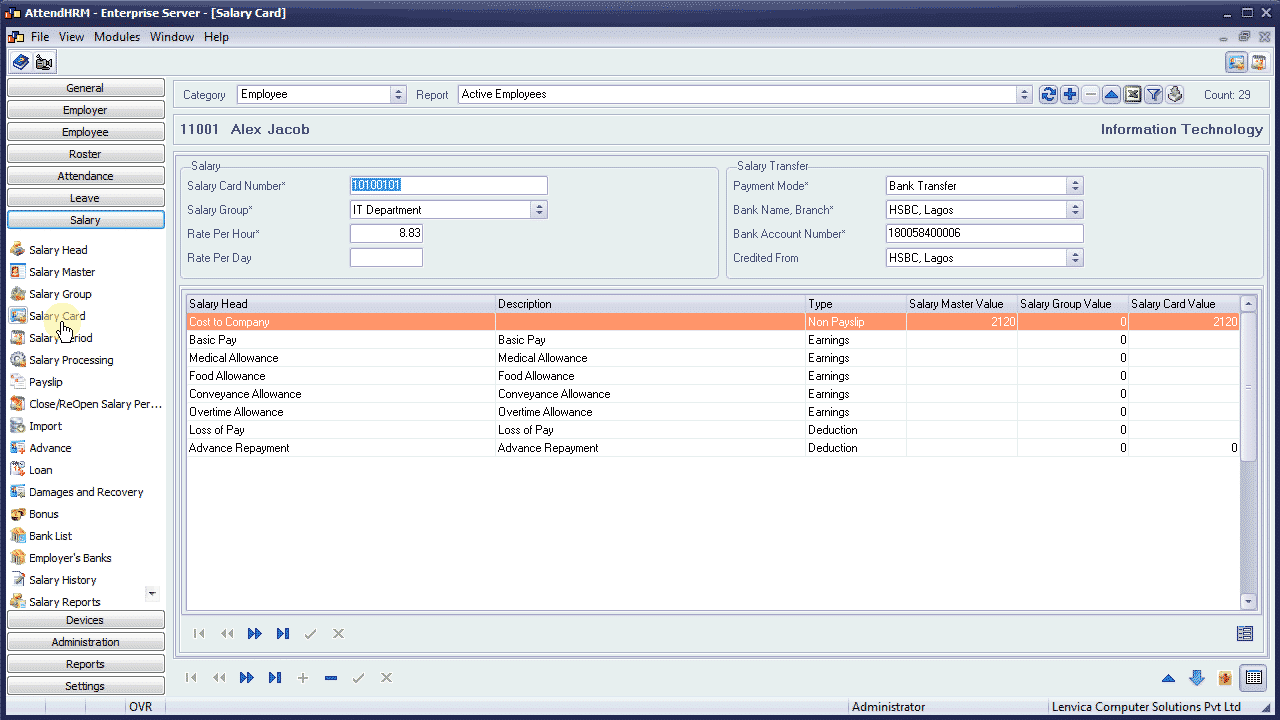
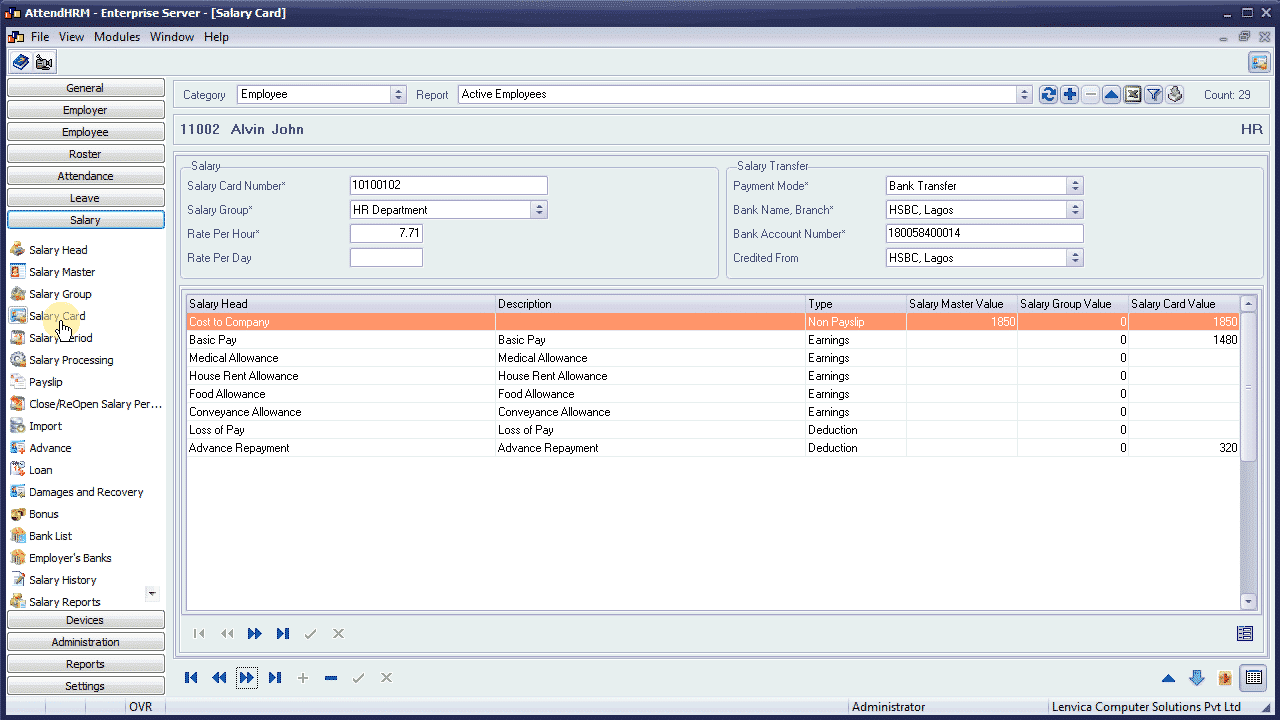
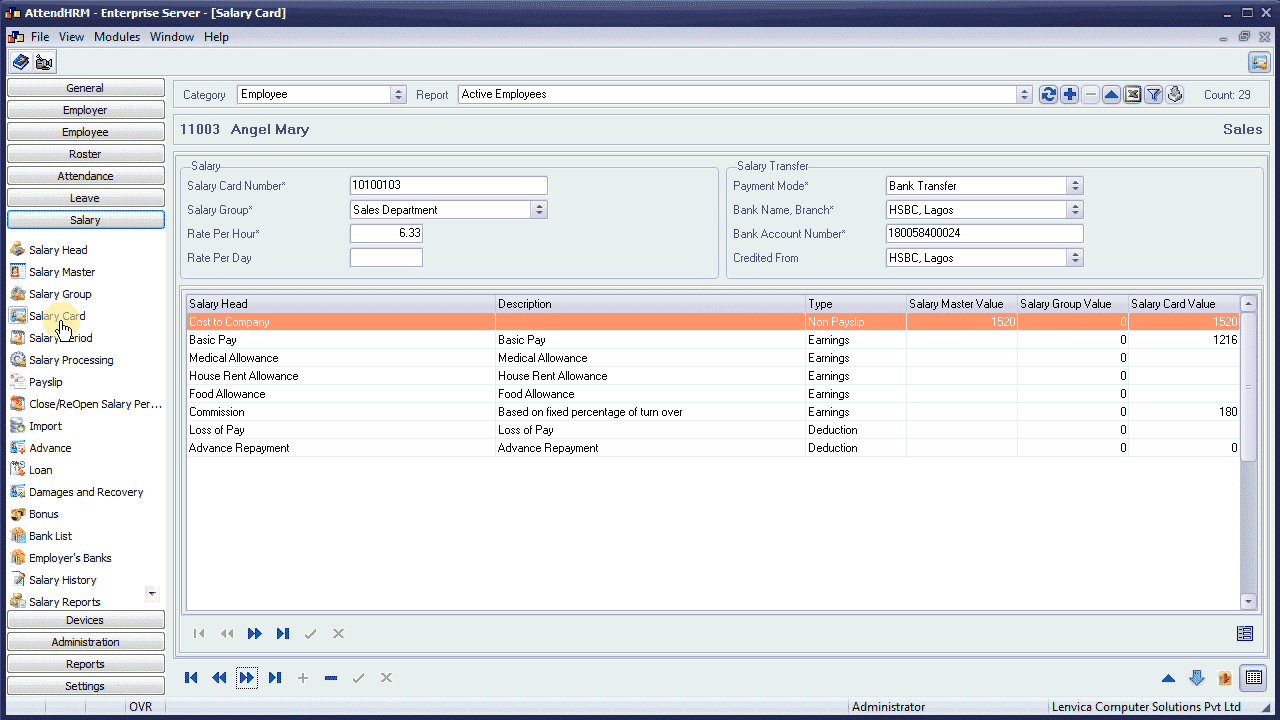
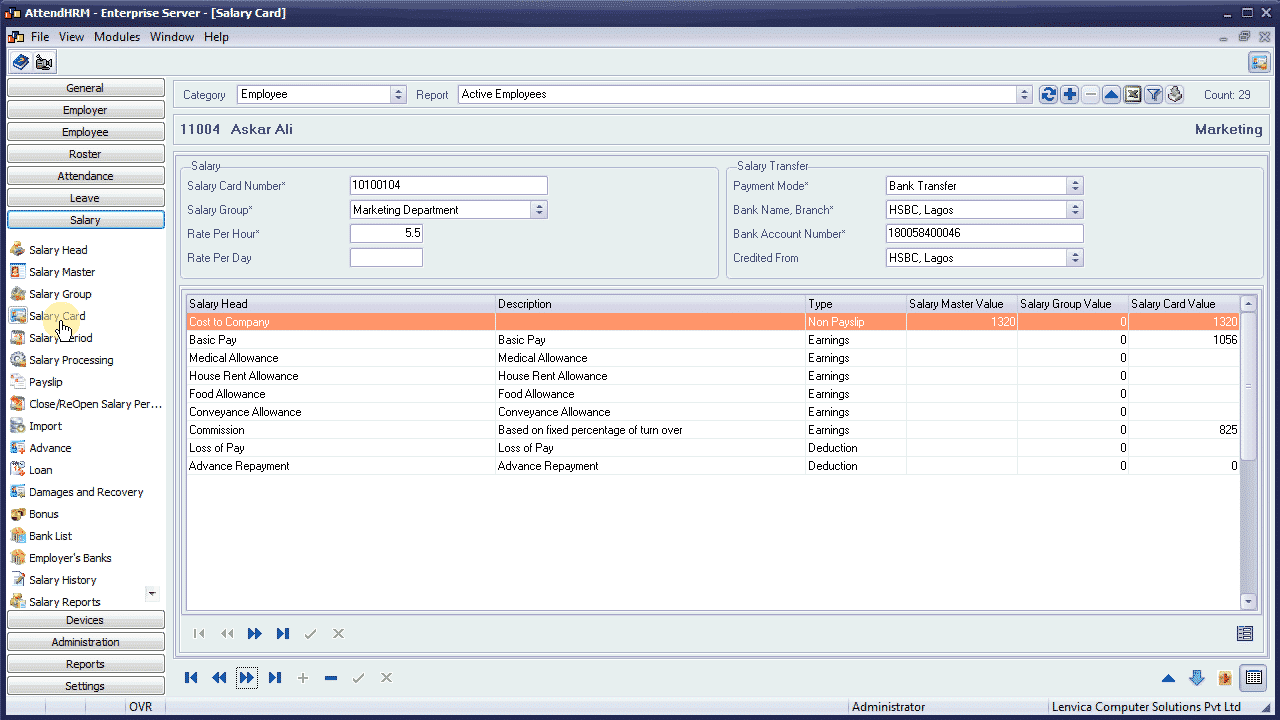
Just run through and complete this wizard to process payroll for the selected employees for the current Salary Period. Employee payslips and statutory reports will be prepared during this process.
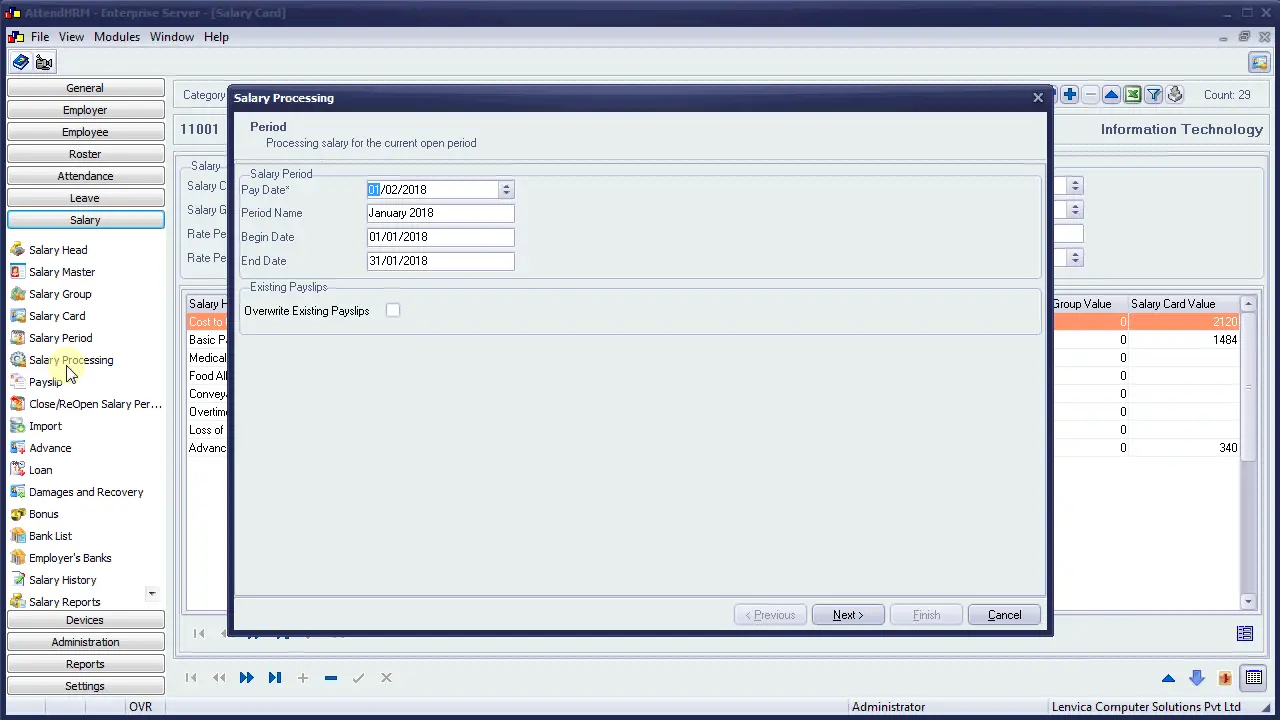
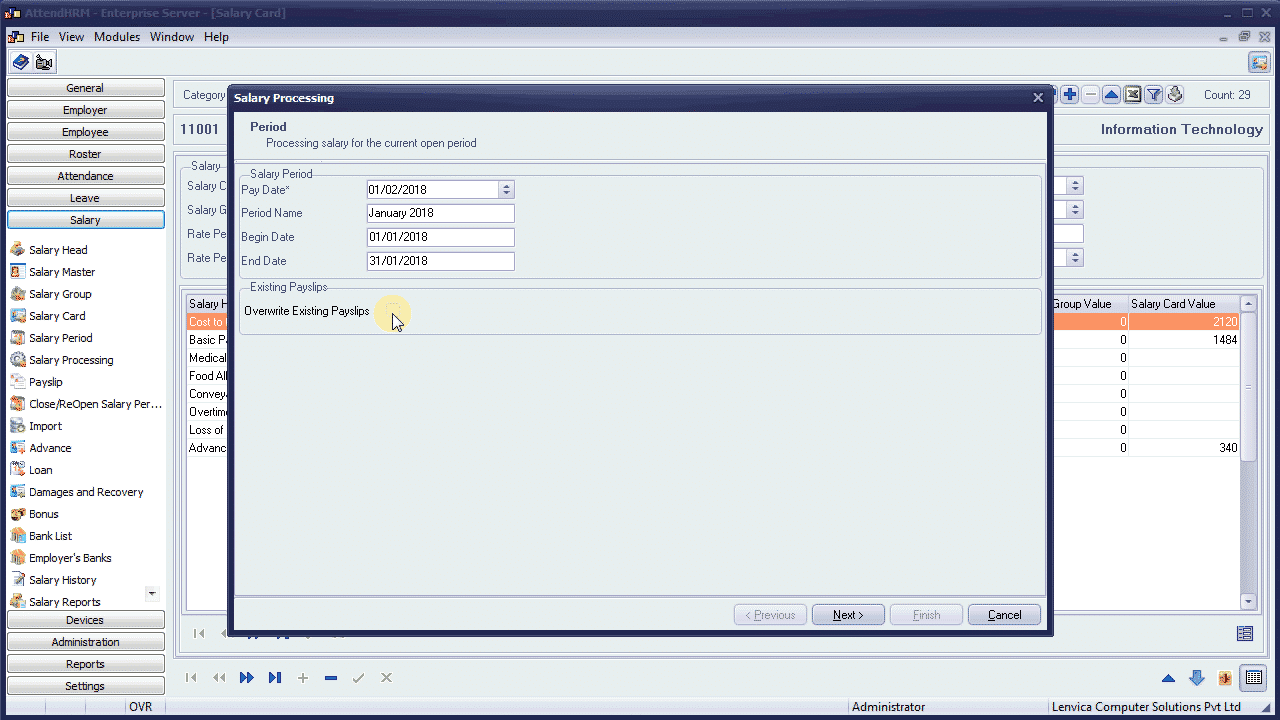
Step 1: Confirm the Salary Period
Confirm that you are about to process payroll for the currently active Salary Period.
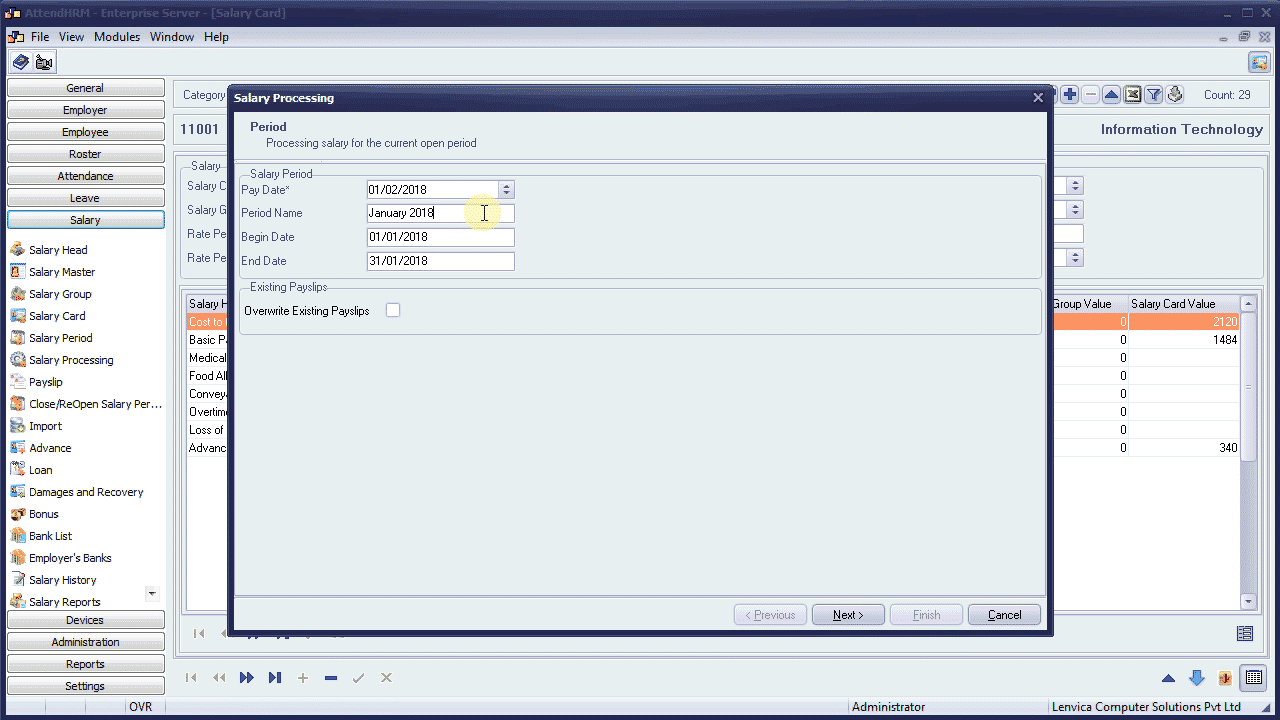
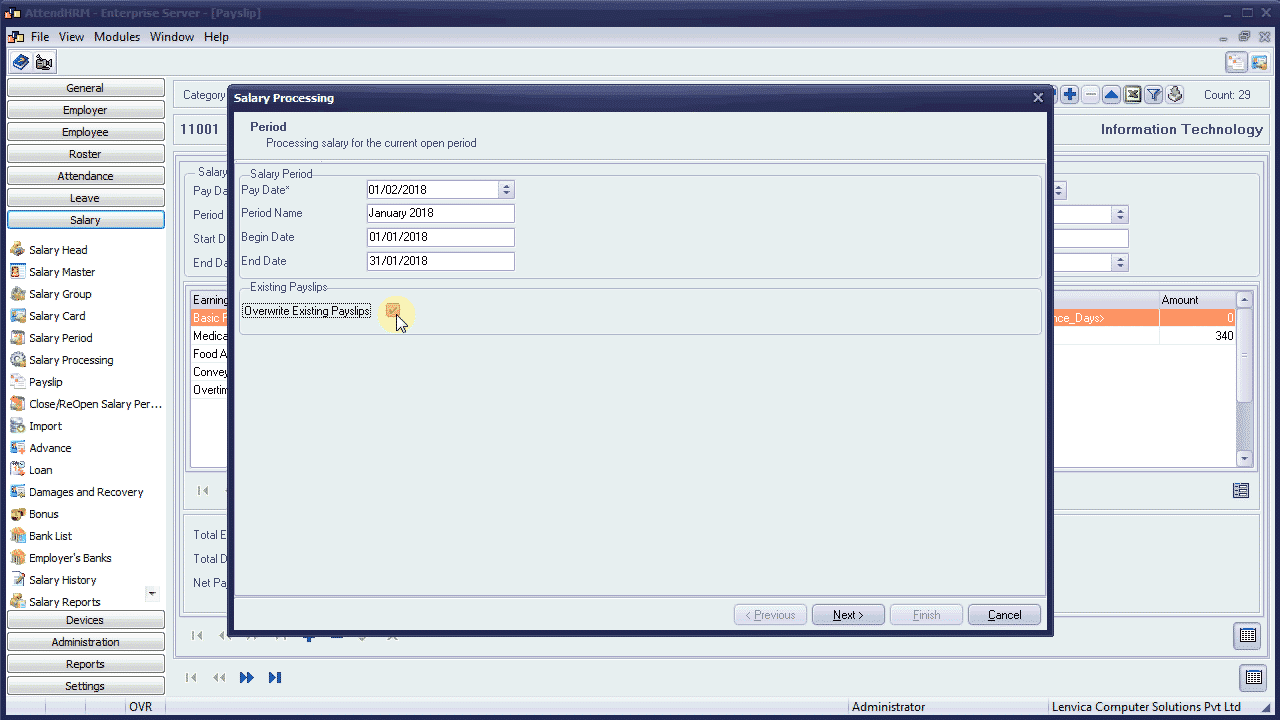
Check this box if you want to overwrite existing payslips for the current period.
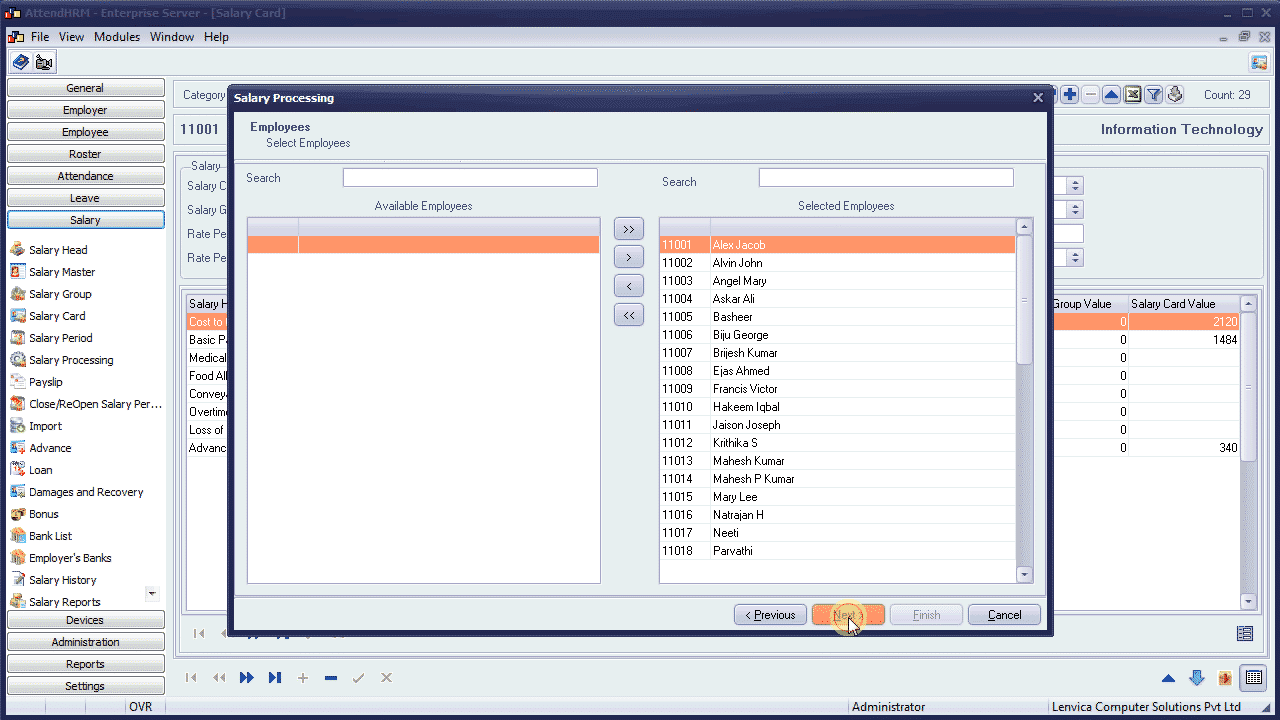
Step 2: Pick Employees
The system, by default, picks all employees who has worked during this Salary Period. But, you can pick any group of employees.
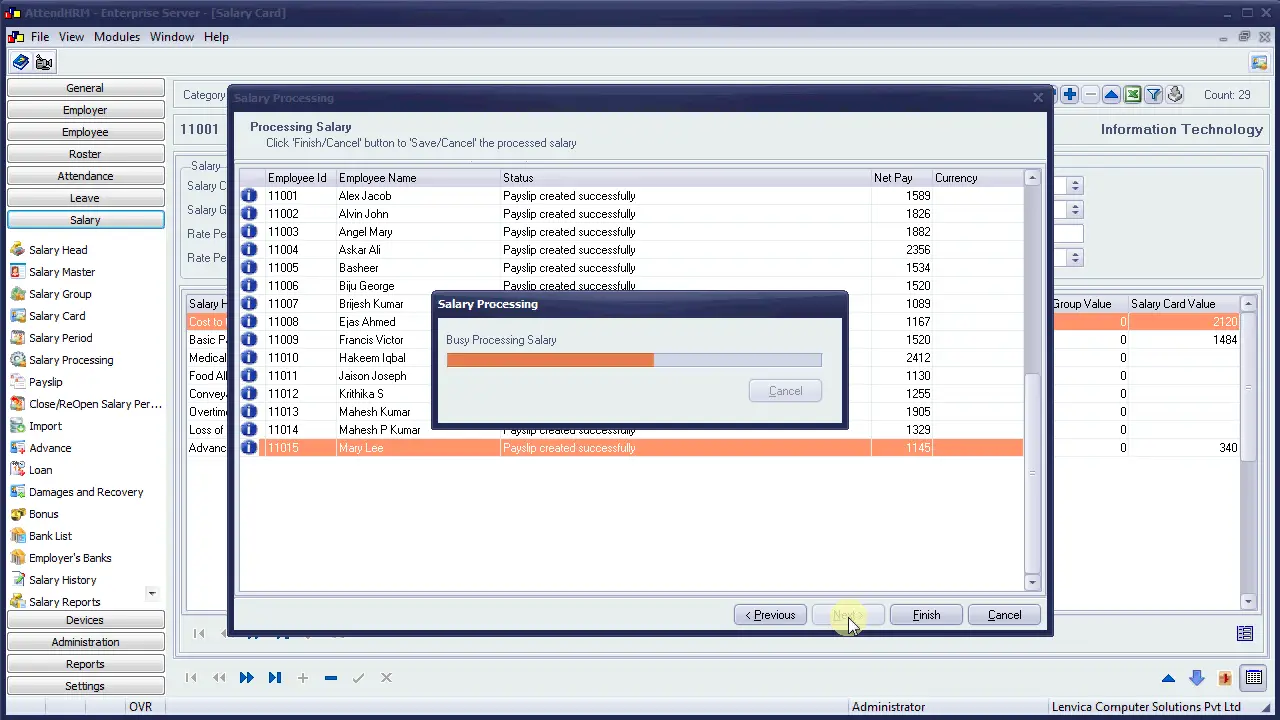
Step 3: Salary Processing
The system is now processing salary for the selected employees. Payslips for employees, Statutory reports for the employer, and other salary reports are prepared during this process.
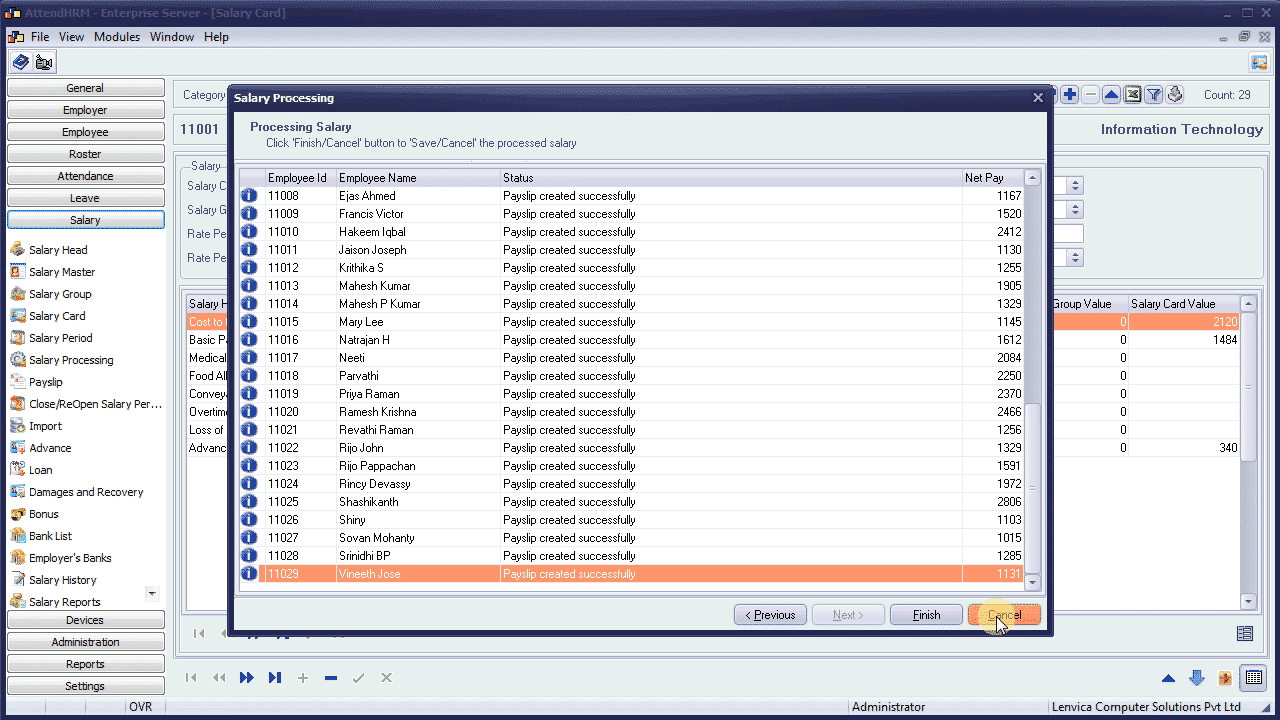
Step 4: Save or Cancel?
Click ‘Finish’ to save the payslips created during the process.
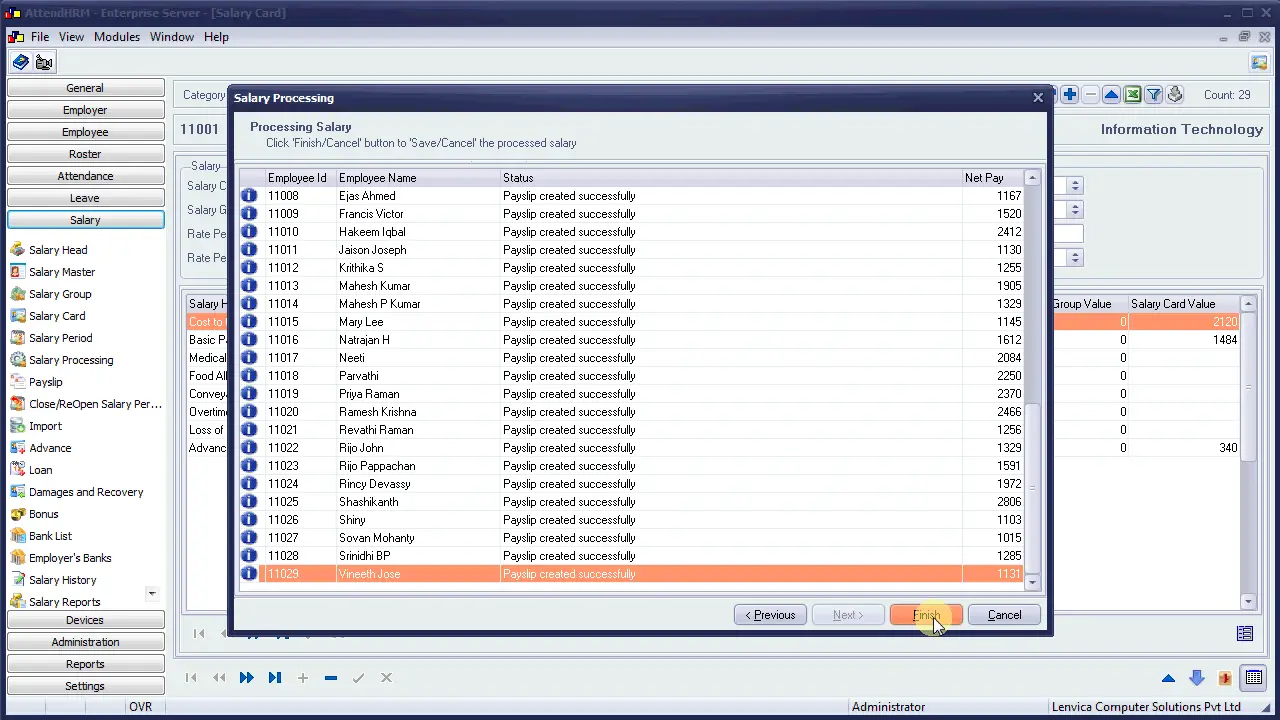
Click ‘Cancel’ to discard the payslips.
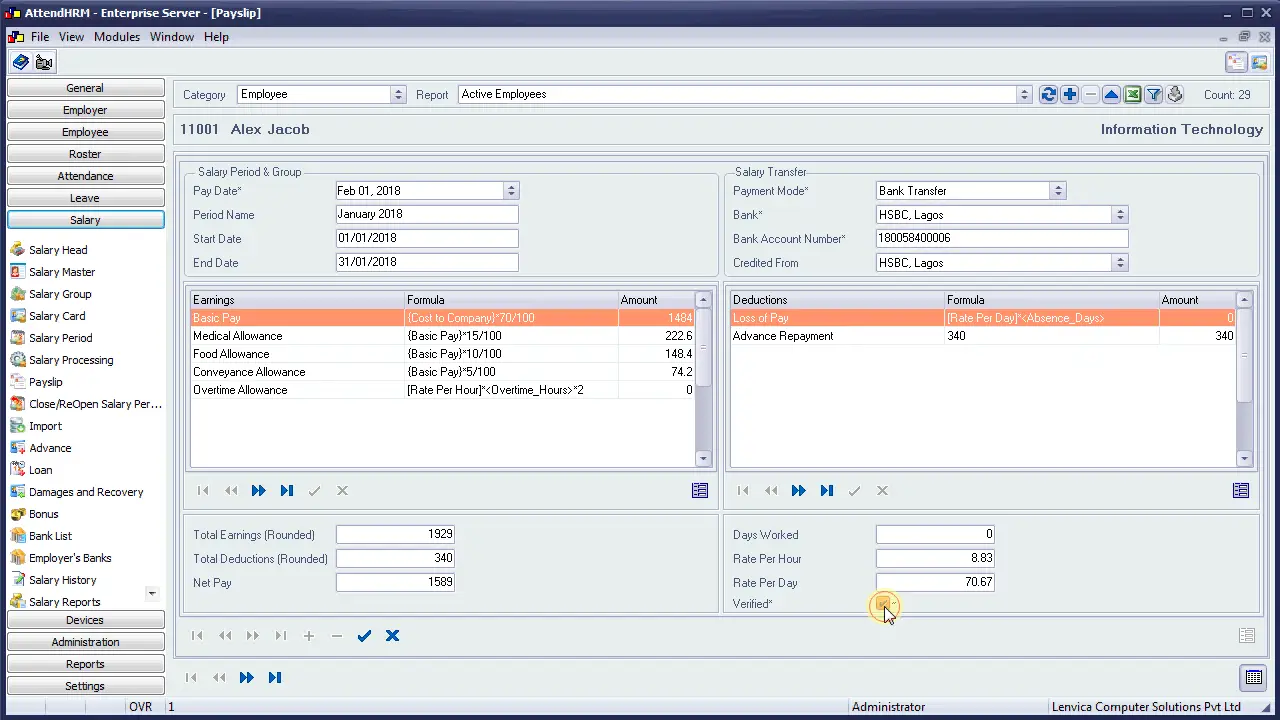
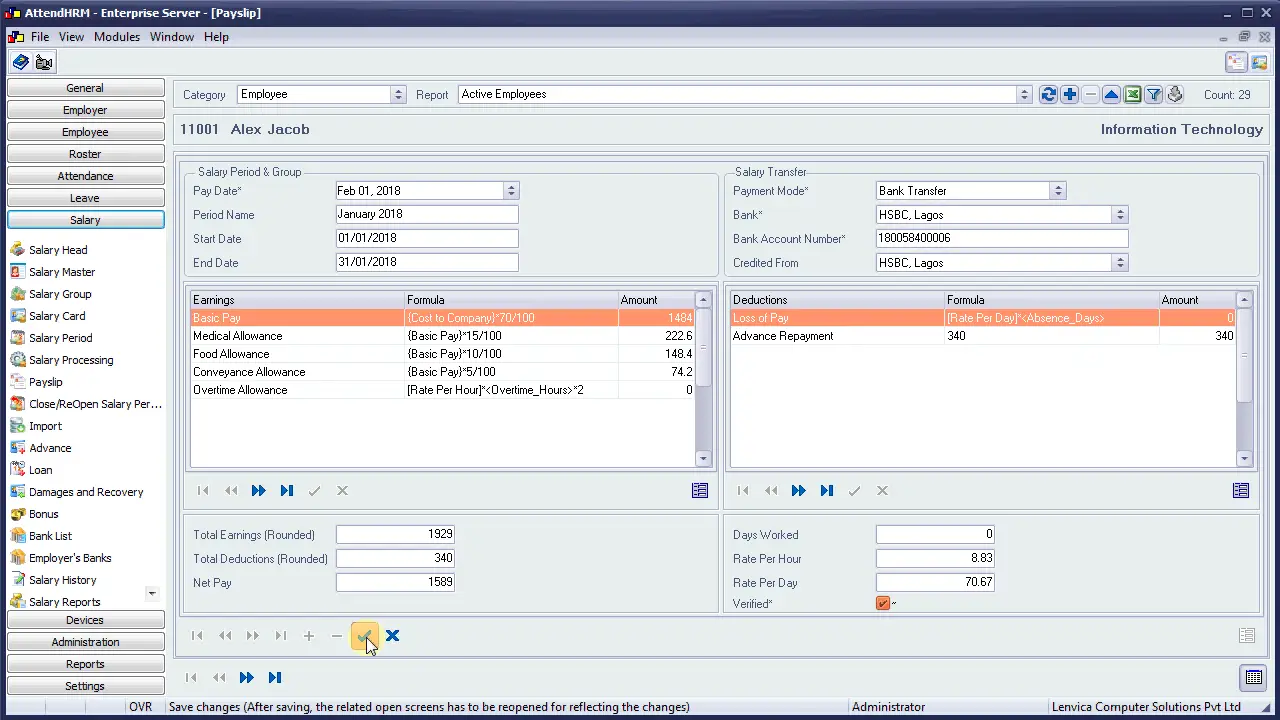
Step 5: Verify the payslips
Verify the payslips to ensure that they are correct.
Step 6: Re-process to overwrite existing payslips
If you find issues in the previous step, fix them, and process salary again. Check this box to overwrite existing payslips.
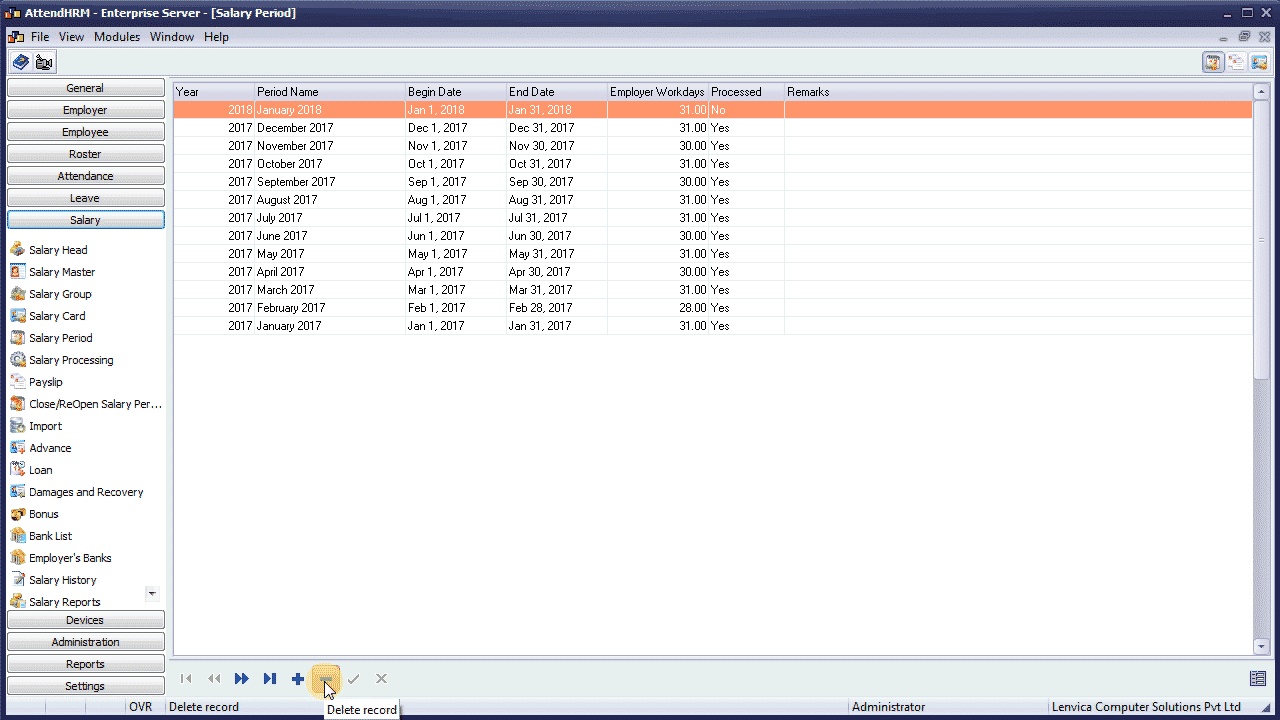
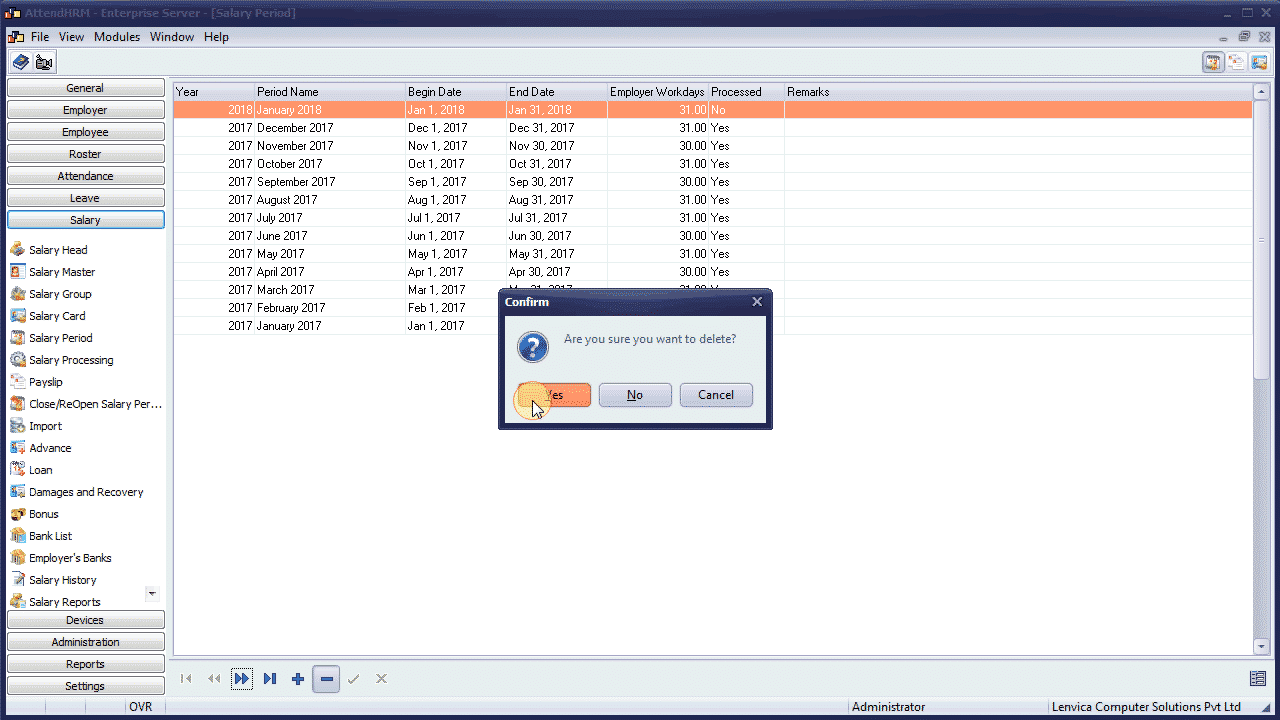
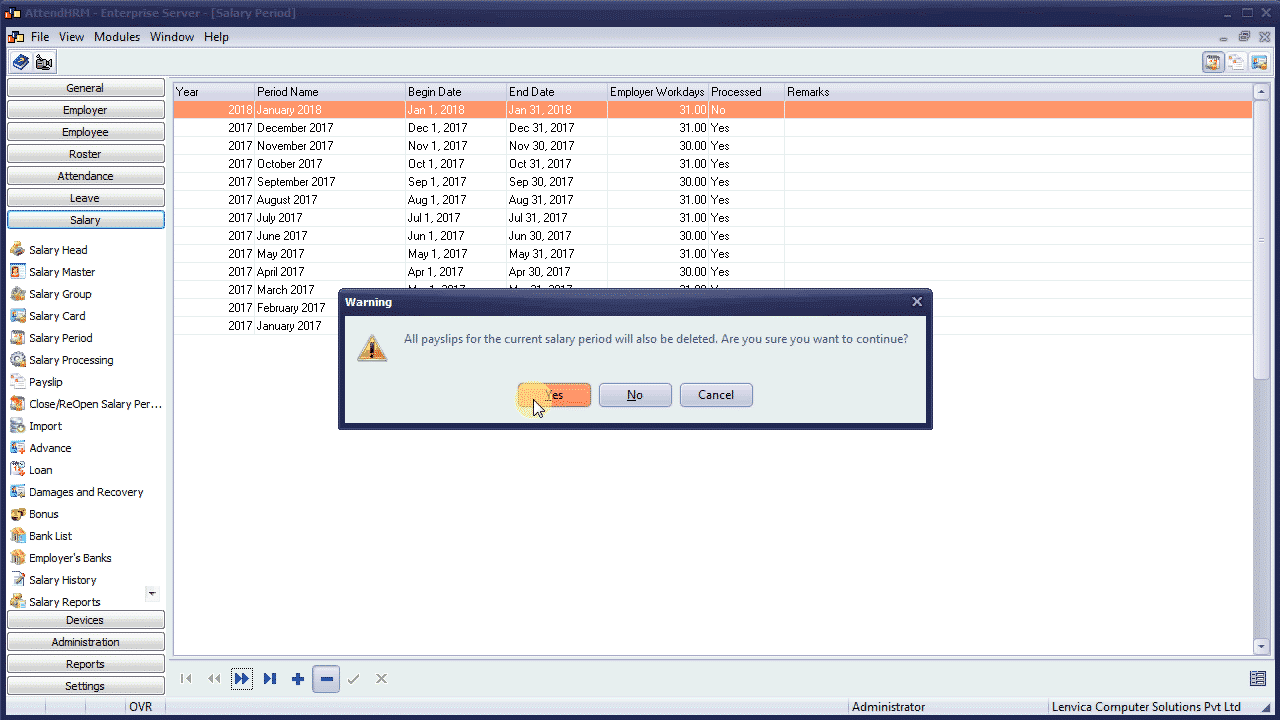
Step 7: Drop the period to drop all payslips
If you find issues with most of your payslips, you may want to drop all the payslips to re-process again.

Leave A Comment
You must be logged in to post a comment.