
Lenvica HRMS Enterprise LAN Client Installation and Setup
Step 1
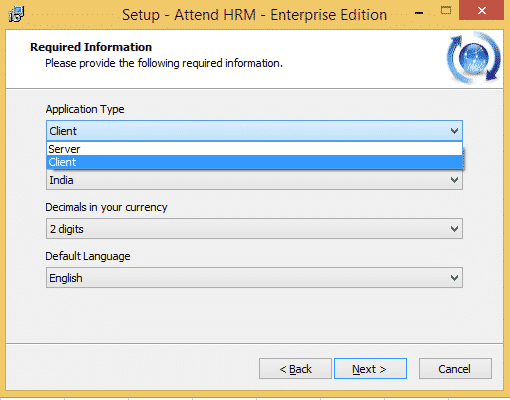
Lenvica HRMS Enterprise LAN Client Installation
Lenvica HRMS Enterprise LAN Client Setup: Connection to Database

Step 2
Firewall Settings to allow Firebird port 3050
Firebird server listens on port 3050 for connection requests from clients.
Firebird uses port 3050 unless setup differently and the Lenvica HRMS Enterprise clients use this port to communicate with the master database. Windows firewall settings must be so configured in the server system that it must not block the connections from client systems through the port 3050. Inbound rules for port 3050 can be defined under the Windows firewall advanced settings. It will authenticate the connections through the firebird port 3050.
What Next?
The steps above should get you started with Lenvica HRMS. Now, choose the topics below to proceed further!
Do you want to upgrade?
Lenvica HRMS Enterprise upgrades you to many more exciting features. A few are listed below.